×
×

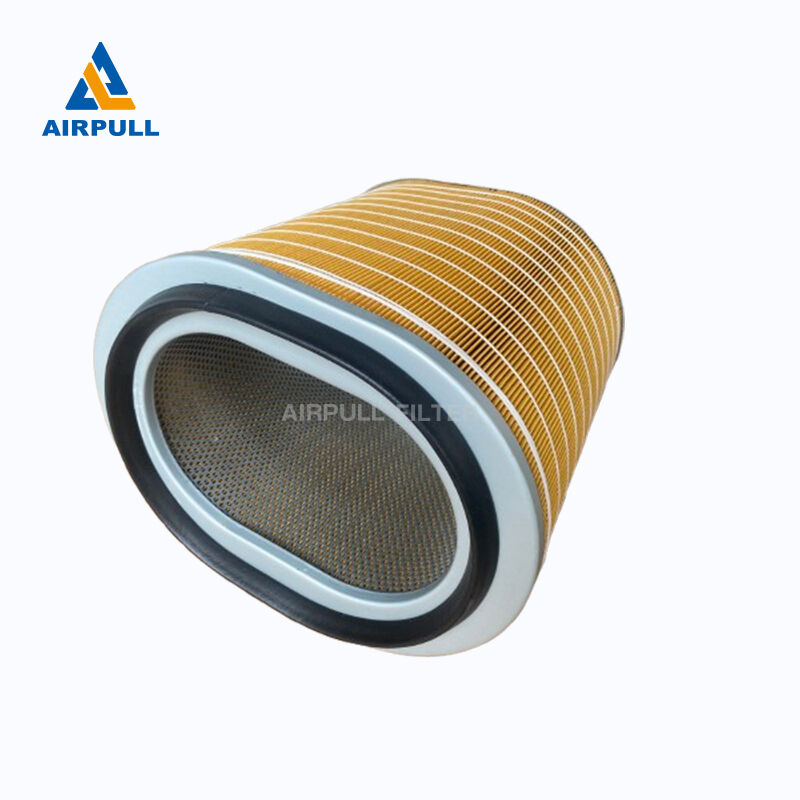
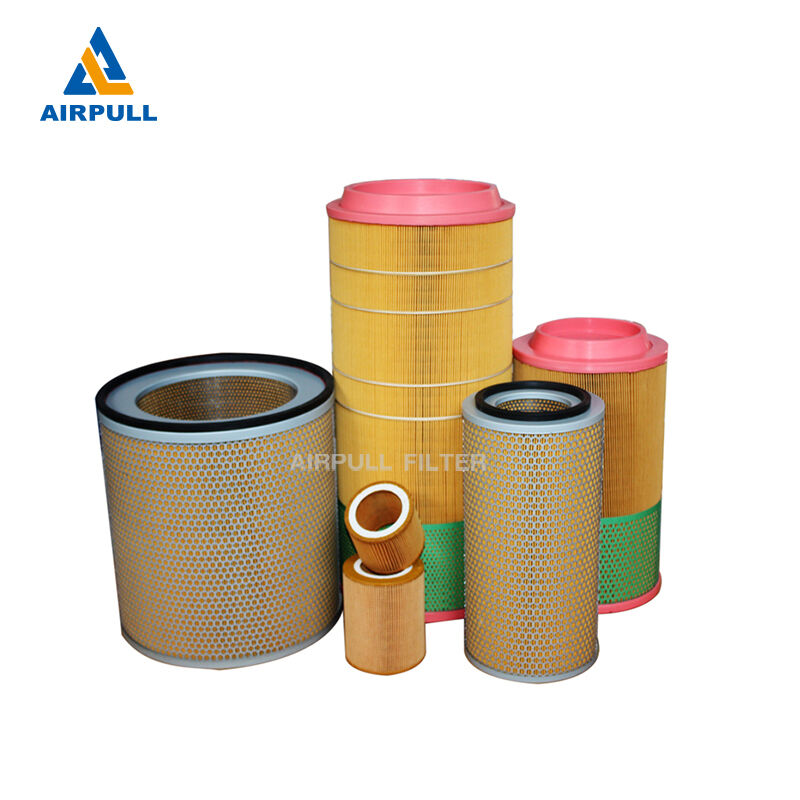
The air filter serves as the “gatekeeper” for screw air compressors. If it fails, dust and impurities will directly contaminate the lubricating oil, wear down the main unit, and even clog the oil-gas separator (oil separator core). Today, the air compressor manufacturer will walk you through the standard maintenance methods for air filter elements, covering everything from signal recognition to practical implementation, step by step:
I. Recognize Maintenance Signals: Don't Wait Until Clogging Occurs
When should air filter maintenance be performed? Look for two key indicators instead of relying on guesswork:
Differential Pressure Switch Alarm: The differential pressure switch installed at the filter inlet/outlet automatically activates when clogging causes the pressure differential to reach the set value (e.g., controller indicator lights up or pop-up alarm appears).
Timer “Reminder”: When the internal unit timer reaches zero, the LCD display will directly show “Air Filter Clogged”—both situations require immediate cleaning or replacement of the filter.
II. Safety First: 3 Essential Pre-Maintenance Steps
Maintenance must be performed only after the air compressor has completely shut down. Omitting any step poses risks:
First, disconnect the unit's power supply by unplugging the cord or turning off the main switch to prevent accidental startup.
Open the pressure relief valve on the intake system and wait until the pressure gauge reading drops to 0, fully releasing any residual pressure.
Wear slip-resistant gloves and safety goggles to prevent dust from splashing into your eyes or being cut by components when removing the filter element.
III. 4-Step Guide: Cleaning/Replacing the Air Filter—Do It Right
Step 1: Remove the Filter — Handle with Care to Prevent Dust from “Leaking In”
First, open the air filter's end cap (some are snap-on—just pull apart; others require unscrewing surface fasteners).
Loosen the filter's mounting bolts. Gently cradle the filter with both hands and pull it out slowly — avoid shaking dust from the filter surface into the intake chamber (if dust falls in, wipe it clean with a dry cloth first).
Step 2: Inspect Condition — 2 Methods to Determine “Clean or Replace”
Don't rush to dispose of the removed filter. First perform these 2 checks:
Assess clogging level: If the filter paper surface has only a light dusting, hasn't turned black, and feels light, it can be cleaned. If the paper has turned grayish-black and feels stiff, consider replacing it.
Check for damage: Use a flashlight (or small lamp) to shine light into the filter core while slowly rotating it externally. If light leaks through any area, it indicates holes or gaps in the filter paper. Even tiny holes render it unusable—replace immediately.
Step 3: Clean or Replace — Remember the “2 Dos and 2 Don'ts”
Can be cleaned: Only filters that are “undamaged and clogged solely with dust” can be cleaned. Use low-pressure compressed air (pressure must not exceed 0.3MPa; higher pressure will damage the paper). Blow from the “inside toward the outside” of the filter (following the airflow direction to dislodge dust from the outer surface, not push it deeper into the paper fibers).
Cannot be cleaned: If the filter element surface is contaminated with oil (e.g., from nearby oil fumes or machine oil leaks), discard it and replace with a new one. Oil will seep into the paper filter element, cannot be washed off, and will contaminate the air compressor oil, ultimately costing more. Additionally, paper filter elements must never be washed with water, detergent, or gasoline, as washing will ruin the filter paper.
Step 4: Reinstall the filter element — Ensure a tight seal with no air gaps.
Before installation, thoroughly clean the inside of the end cap and the intake chamber, removing any residual dust or debris (use a dry cloth or blow with low-pressure air).
Inspect the filter element's sealing gasket (sometimes a sponge ring). If deformed or cracked, replace it simultaneously — a damaged gasket allows air leaks, letting contaminants enter the unit.
Align the filter element with the mounting slots, ensuring the gasket tightly contacts the chamber walls without misalignment. Then secure the end cover by tightening bolts or snapping clips evenly (avoid excessive force that could warp the cover).
After installation, perform a simple test: run the air compressor idle for 5 minutes. Apply soapy water to the end cover seam. If no bubbles appear, the seal is intact. If bubbles form, shut down and readjust.
IV. Two Critical Reminders: Avoid These Pitfalls
Do not arbitrarily adjust the pressure differential switch: During maintenance, inspect the switch to ensure secure wiring and proper responsiveness. Its preset value typically does not exceed 50 kPa (refer to your unit's manual for specifics). Never increase the setting yourself, as this prevents alarms when the filter element nears failure. This increases the unit's load and damages the main engine.
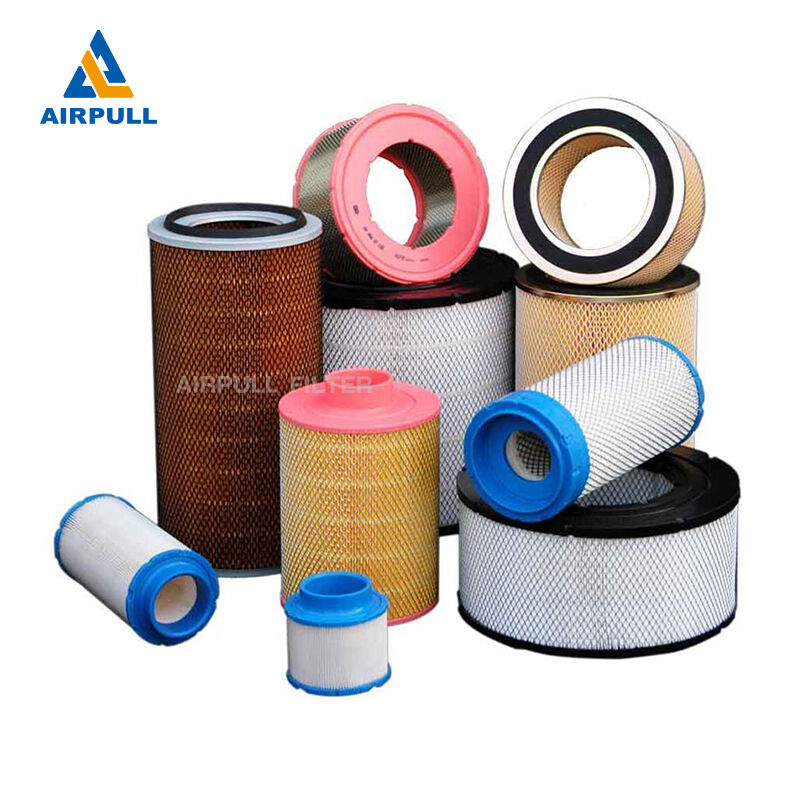
Don't skimp on filters: Always use filters matched to your compressor model (original or certified aftermarket). Incorrect sizing creates gaps between the filter and housing, allowing contaminants to bypass protection. This accelerates oil and oil separator element failure.
5. Why Prioritize? Small savings lead to big losses
Air filters may seem like inexpensive consumables, but they directly impact two “expensive components”:
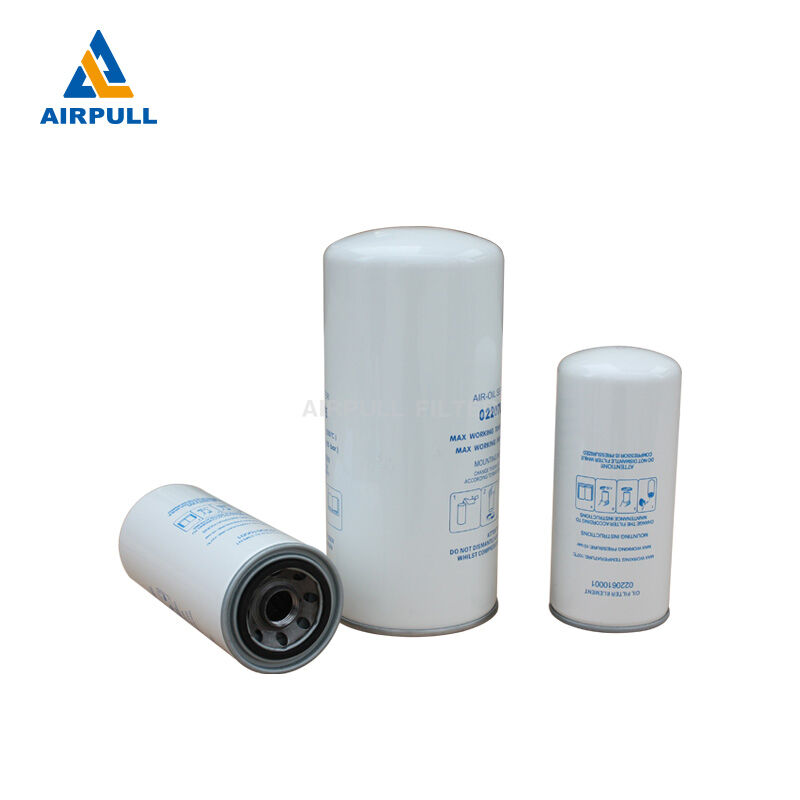
Poor air filters allow contaminants to pollute compressor oil, causing premature emulsification and degradation. Replacing the oil costs several times more than the air filter.
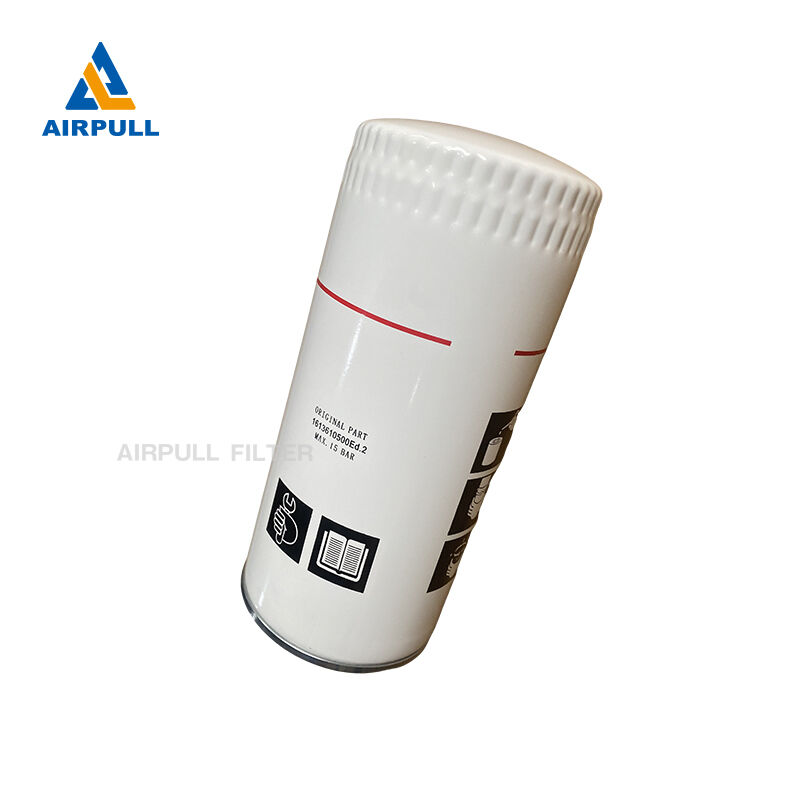
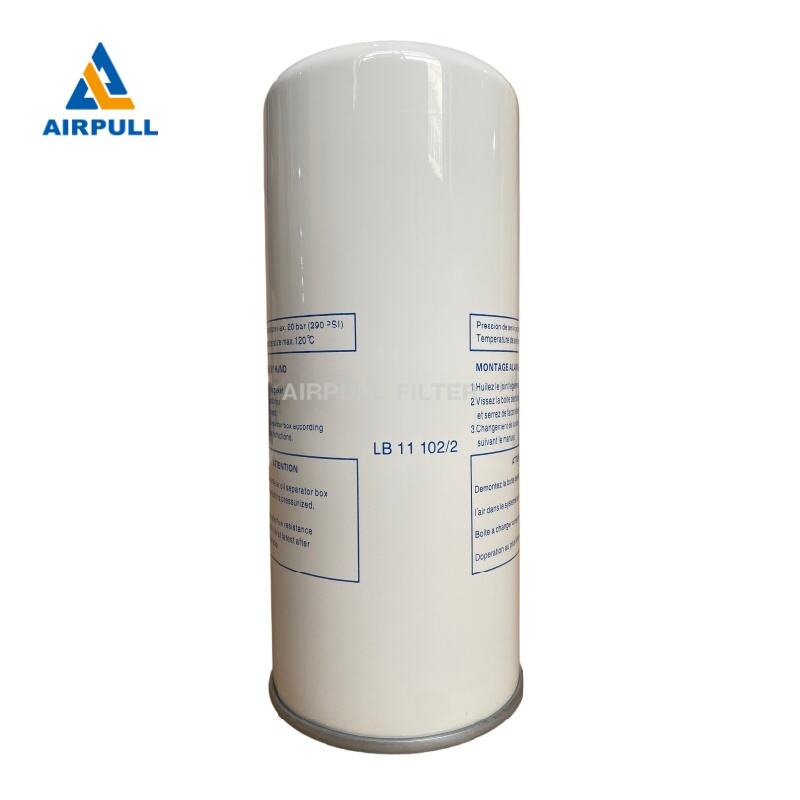
Contaminants also clog oil separator elements, which typically cost over ten times more than air filters. Neglecting air filter maintenance and having to replace the oil separator element is a significant financial loss. VI. Maintenance Intervals: Don't rigidly follow “manufacturer settings”; adjust flexibly based on environment.
Manufacturers set baseline intervals (typically 3,000-5,000 hours under standard conditions) in the unit controller, triggering alerts when due. Following these intervals is generally safe.
However, if your air compressor operates in dusty environments (e.g., mines, woodworking shops) or extremely humid conditions (e.g., southern rainy seasons, seafood processing plants), extend the cycle by 30%-50%. For instance, if the original replacement interval was 5000 hours, now replace it at 3000 hours. Additionally, conduct more frequent inspections—check the filter element condition every 100-200 hours. Don't wait until it's completely clogged before taking action.
 Hot News
2026-05-18
2026-03-03
2026-01-31
2026-01-29
2026-01-22
2026-01-15

XINXIANG AIRPULL FILTER CO.,LTD provides high-efficiency air compressor filters, oil-gas separators, and industrial filtration systems. With 30+ years of expertise and 33 patents, we deliver reliable solutions for power, petroleum, and chemical industries. Global shipping to 50+ countries.
National Chemical and Physical Power Supply Industrial Park, Newqi Street, Muoye District, Xinxiang City, Henan Province
Copyright © 2026 XINXIANG AIRPULL FILTER CO.,LTD All rights reserved Privacy Policy