


Installing an oil separator correctly is one of the most important reliability tasks in any compressed air system. In practical terms, the oil separator for screw compressor controls oil carryover, protects downstream air quality, and stabilizes lubrication return to the airend. A poor installation can lead to pressure drop, high oil consumption, and premature service shutdowns. A correct installation, by contrast, gives predictable performance and cleaner operation from day one.
This guide explains how to install an oil separator for screw compressor in a practical workflow, from shutdown preparation to restart validation. The process below is written for maintenance teams, plant engineers, and service technicians who need repeatable installation quality under real operating constraints. Each stage focuses on what to check, why it matters, and how to avoid common mistakes. The goal is not just fitting a new oil separator for screw compressor, but installing it in a way that supports long service life.
Installation Planning and Pre-Checks
Confirm machine condition before opening the separator vessel
Before removing any component, isolate power fully and lock out the compressor according to site procedure. Depressurize the separator tank completely and verify zero pressure on gauges and vent points. Attempting to install an oil separator for screw compressor under residual pressure is unsafe and risks seal damage during disassembly. A controlled shutdown prevents contamination and keeps the next installation steps accurate.
Allow the package to cool so internal parts can be handled without thermal distortion or burn risk. Hot oil can hide debris patterns that are useful for diagnosis, so cooler conditions improve inspection quality. During this phase, confirm the current service history and operating hours to validate that oil separator replacement timing is appropriate. A well-timed oil separator for screw compressor change improves both filtration efficiency and pressure stability.
Inspect parts, seals, and vessel internals for readiness
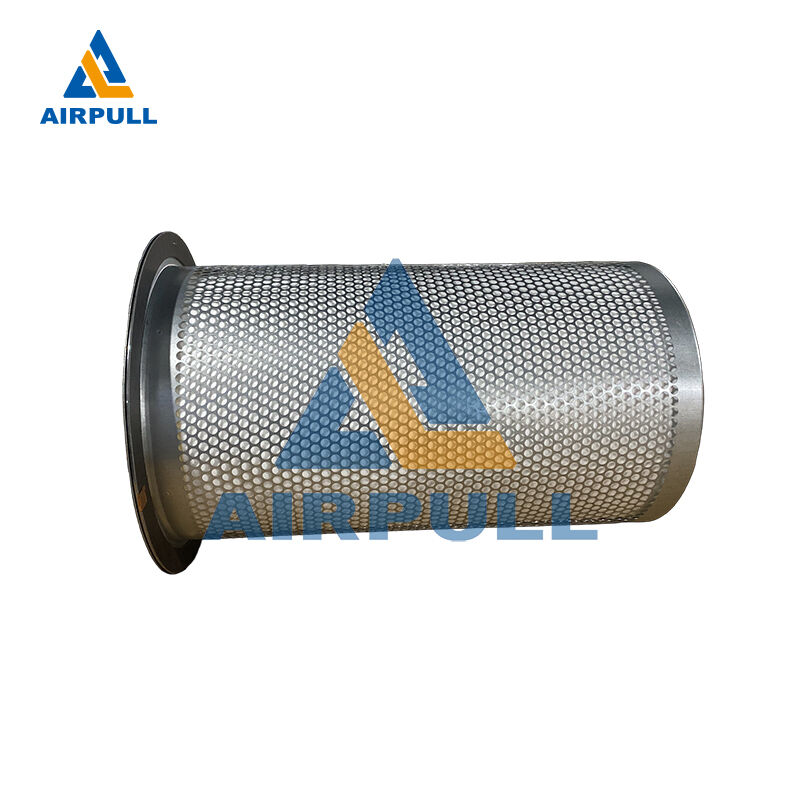
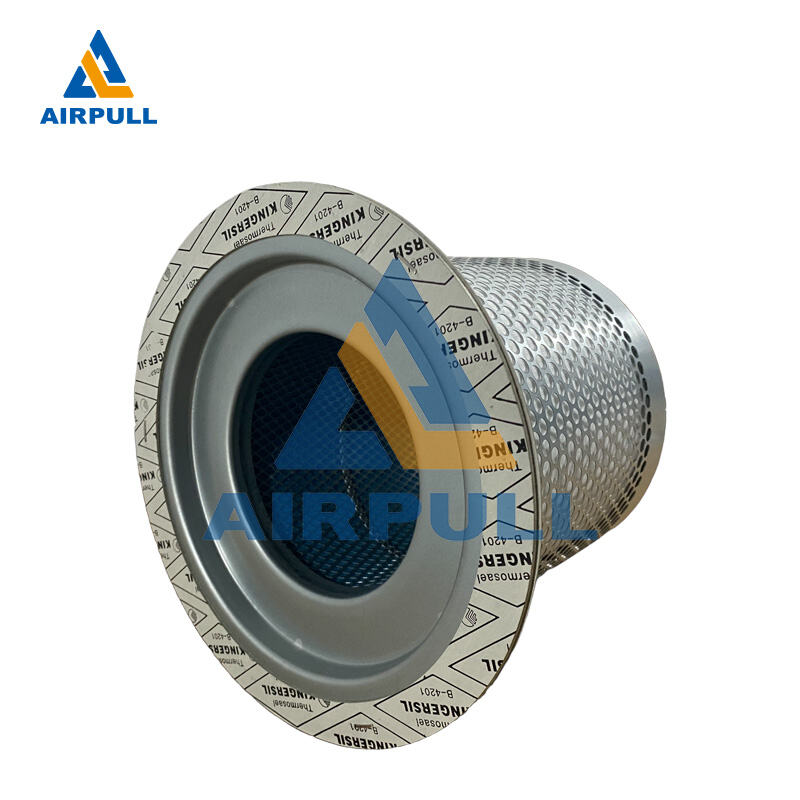
Unbox the new element and verify dimensions, gasket profile, and center hole alignment against the removed unit. Even a small mismatch can alter compression of the sealing face and reduce the effectiveness of the oil separator for screw compressor. Check the separator housing interior for sludge, varnish, and loose particles that may compromise the new element immediately after startup. Clean mating surfaces thoroughly with lint-free materials and approved solvents.
Inspect the scavenge line condition while access is open, because return-line issues are often mistaken for separator failure. If the scavenge orifice is blocked, the oil separator for screw compressor can flood and push oil downstream despite a new element. Confirm that O-rings are undamaged and lubricated lightly with compatible compressor oil before installation. Controlled seal seating reduces the chance of startup leaks and uneven clamping force.
Step-by-Step Mounting and Connection Process
Remove the old element and prepare the seating area
Open the separator vessel carefully and lift out the old element without dragging it against the housing wall. Dragging can shed debris into the vessel and undermine the performance of the next oil separator for screw compressor. Once removed, inspect the old element for collapse marks, carbon loading, or split seams, because these signs often reveal operating problems beyond normal wear. Record observations for maintenance tracking before disposal.
Clean the base plate and top cover interfaces until surfaces are smooth and residue-free. Any leftover gasket fragments can create micro-leaks that increase differential pressure across the oil separator for screw compressor. Check bolt threads and clamping studs for galling or elongation, and replace worn hardware before reassembly. Mechanical integrity at this point determines how well the new seal set holds under cycling pressure.
Install the new separator element with proper alignment
Position the new element vertically and ensure it seats squarely on the support surface without tilt. The oil separator for screw compressor must align with the vessel centerline so internal flow remains balanced across the media. Misalignment concentrates velocity on one side, accelerating local saturation and shortening effective life. Keep handling clean, and avoid touching sensitive sealing edges with contaminated gloves.
Fit all seals according to orientation marks and verify that each seal sits in its groove without twisting. A twisted seal can mimic a defective oil separator for screw compressor by creating bypass leakage from the first hour of operation. Reinstall the top assembly and apply fastener torque in a cross pattern with staged increments. Even load distribution is critical for maintaining gasket compression uniformity around the vessel perimeter.
Reconnect scavenge and internal return paths correctly
Reconnect the scavenge line carefully and confirm the dip tube depth meets the machine design requirement. The oil separator for screw compressor depends on stable oil return from the separator core to the low-pressure side of the airend. If tube position is too high, residual oil accumulates and carryover rises; if too low, ingestion behavior can become erratic. Tighten fittings to specification and check that line routing is free from kinks.
At this stage, many teams also verify that the minimum pressure valve and downstream check components move freely. Although separate parts, their behavior influences how the oil separator for screw compressor sees pressure differential at startup. Stable differential pressure helps the element separate oil aerosol efficiently during transient loading. A system-level check prevents false troubleshooting later.
Commissioning, Validation, and Leak Control
Pressurize gradually and monitor initial operating behavior
After reassembly, start the compressor in controlled mode and bring pressure up gradually rather than applying full load immediately. This allows the oil separator for screw compressor to wet and stabilize while seals settle under real operating stress. During the first minutes, inspect all vessel joints, fittings, and inspection covers for trace oil weeping. Small leaks found early are easy to correct before they become chronic losses.
Track differential pressure across the separator circuit and compare with baseline values from past service records. A healthy oil separator for screw compressor should show normal startup differential and then steady behavior as oil temperature rises. If differential pressure is unexpectedly high, recheck clamping, line restrictions, and possible internal obstruction. Immediate data capture prevents extended operation in a damaging condition.
Verify air quality and oil carryover under load transitions
Run the machine through realistic load and unload cycles and observe downstream air side indicators. The oil separator for screw compressor should maintain low carryover across these transitions when scavenge and vessel sealing are correct. Sudden carryover spikes often indicate bypass leakage, return-line problems, or incorrect installation height. Confirm that oil level trends remain stable through at least one full operating period.
Where possible, document oil consumption trend before and after replacement to validate installation quality objectively. Consistent reduction in make-up oil typically confirms that the oil separator for screw compressor is functioning as intended. Also monitor discharge temperature and vibration context, because abnormal thermal or mechanical behavior can indirectly affect separation efficiency. Commissioning is complete only when both leak integrity and performance indicators are stable.
Maintenance Practices That Protect Installation Quality
Set service intervals based on duty profile, not calendar alone
A fixed calendar interval can be misleading when operating hours and load profile vary significantly across sites. The effective life of an oil separator for screw compressor depends on temperature, oil quality, dust burden, and cycling frequency. High ambient heat and frequent load swings often accelerate degradation of separator media and seals. Build replacement timing from actual run hours and trend data, then review periodically.
When ordering replacement parts, prioritize specification fit and quality consistency to avoid repeated shutdown events. Many teams source the oil separator for screw compressor alongside seal kits and related service consumables to reduce mismatch risk. Keeping the installation package complete improves turnaround time and first-pass success during planned maintenance. Better planning directly lowers unplanned downtime exposure.
Prevent repeat faults through post-install records and diagnostics
Each oil separator for screw compressor installation should be logged with torque values, differential pressure at startup, and follow-up readings after stabilization. This maintenance history makes it easier to detect drift patterns before they turn into failures. Repeated high differential pressure after replacement may point to airflow imbalance, incorrect oil type, or vessel contamination. Data-backed diagnostics reduce guesswork and unnecessary part changes.
Capture photos of seal seating and internal cleanliness during major service windows for audit and training use. A repeatable visual standard helps technicians install each oil separator for screw compressor with consistent workmanship across shifts. Over time, this standardization improves reliability more than any single corrective action. Installation quality becomes a controlled process rather than an individual technique.
Control upstream and downstream factors affecting separator life
Air intake filtration quality and oil condition have a direct impact on how long an oil separator for screw compressor remains efficient. Fine dust and oxidized oil increase media loading and raise pressure drop earlier than expected. Regular oil analysis and intake filter discipline therefore support separator performance even though they are separate maintenance tasks. Treating the compressor package as an integrated system extends service intervals naturally.
Downstream demand instability can also affect separator behavior, especially where rapid pressure swings are frequent. A properly installed oil separator for screw compressor tolerates normal transitions, but chronic instability may still reduce life expectancy. Review system controls and storage capacity if carryover trends worsen despite correct installation. Process-side tuning often resolves issues misattributed to separator quality alone.
FAQ
How long does an oil separator for screw compressor typically last after installation?
Service life varies with operating temperature, run hours, oil condition, and load cycling intensity. In stable duty environments, an oil separator for screw compressor can perform reliably for a long interval, but harsh conditions shorten that window. The best practice is to track differential pressure and oil carryover trends rather than depend only on a fixed replacement date. Performance data gives a more accurate replacement trigger.
Can a new oil separator for screw compressor still cause high oil carryover?
Yes, because carryover can result from installation errors or related system issues, not only from element condition. Common causes include incorrect seal seating, blocked scavenge return, misaligned fitment, or unstable operating pressure. When a new oil separator for screw compressor shows poor results, validate mechanical installation first, then inspect return-line and control behavior. Most early failures are correctable through process checks.
What is the most common installation mistake with an oil separator for screw compressor?
The most frequent error is incomplete surface preparation before seal compression. Residual gasket material or contamination can create bypass paths that compromise the oil separator for screw compressor almost immediately. Another frequent issue is uneven torque application that distorts clamping pressure around the vessel. Following a clean seating process and cross-pattern torque sequence prevents most startup problems.
Should differential pressure be checked immediately after installing an oil separator for screw compressor?
Yes, immediate differential pressure verification is essential for confirming installation quality. A normal baseline reading indicates that the oil separator for screw compressor is seated correctly and flow resistance is within expected limits. This reading should then be compared with values after thermal stabilization and under load transitions to confirm consistency. Early monitoring helps catch faults before they affect production air quality.
Table of Contents
- Installation Planning and Pre-Checks
- Step-by-Step Mounting and Connection Process
- Commissioning, Validation, and Leak Control
- Maintenance Practices That Protect Installation Quality
-
FAQ
- How long does an oil separator for screw compressor typically last after installation?
- Can a new oil separator for screw compressor still cause high oil carryover?
- What is the most common installation mistake with an oil separator for screw compressor?
- Should differential pressure be checked immediately after installing an oil separator for screw compressor?
