


Installing a high flow filter element correctly is one of the most critical maintenance tasks in any compressed air system. Whether you are servicing industrial air compressors, HVAC units, or heavy-duty processing equipment, the quality of your installation determines how well the filter performs over its entire service life. A poorly seated or incorrectly torqued high flow filter element can lead to bypass leakage, accelerated contamination, and costly unplanned downtime — outcomes that no facility manager or maintenance engineer wants to face.
This guide walks you through the complete installation process of a high flow filter element in a structured, step-by-step manner. From pre-installation preparation and safety lockout procedures to final seal checks and post-installation verification, every phase is covered with practical, field-tested guidance. By following this process carefully, you ensure that your high flow filter element delivers optimal filtration efficiency, maintains system pressure integrity, and achieves its full rated service interval without premature failure.
Understanding the High Flow Filter Element Before You Begin
What Makes a High Flow Filter Element Different
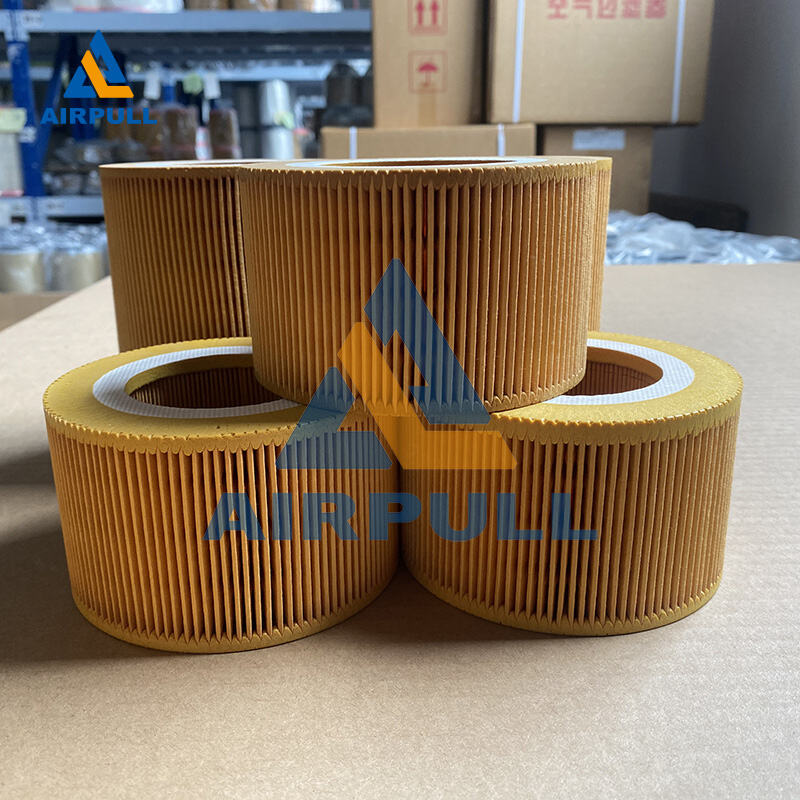
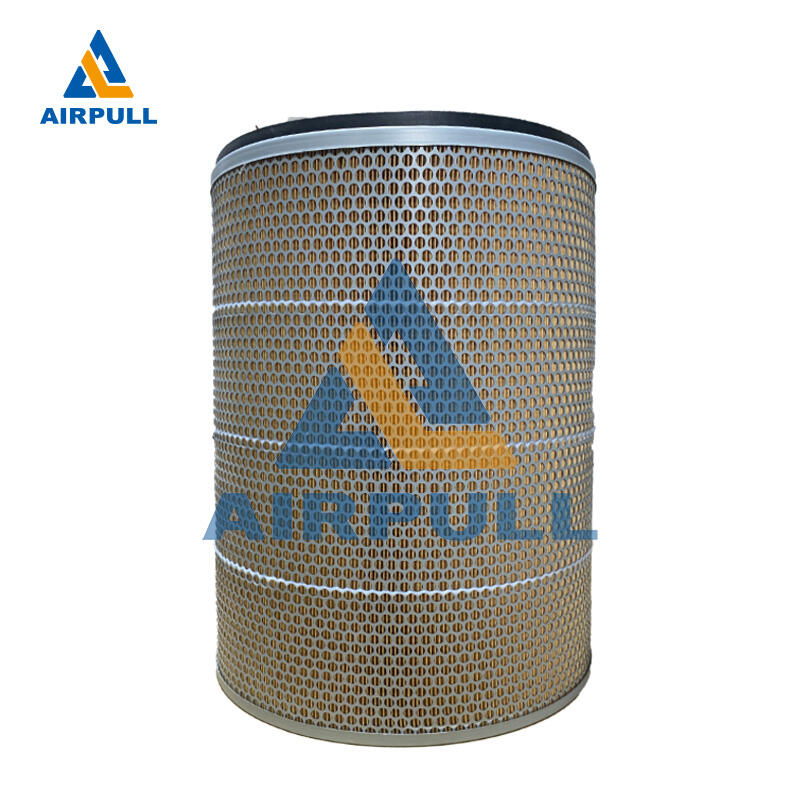
A high flow filter element is engineered to handle significantly greater air or fluid volumes than standard filter configurations while maintaining low differential pressure. This design typically uses a large-diameter cylindrical form factor with deep-pleated filter media that maximizes surface area without increasing housing footprint. The result is fewer elements per system, reduced maintenance frequency, and lower operating pressure drop — all of which translate to energy savings in continuous-duty industrial environments.
Understanding this construction is important before installation because the large sealing surfaces and precision-molded end caps of a high flow filter element demand careful handling. Unlike smaller cartridge filters that snap into place, a high flow filter element relies on compression seals at both the top and bottom end caps. Any dirt, damage, or misalignment on these sealing faces will compromise filtration integrity immediately. Always inspect both the element and the housing seating surfaces before proceeding.
Familiarity with your specific high flow filter element model's specifications — including micron rating, flow capacity, and maximum differential pressure — helps you confirm that the replacement part matches your system requirements. Using an undersized or mismatched element is a common installation error that produces poor outcomes regardless of how carefully the physical installation is performed.
Tools and Materials Required for Installation
Before beginning any installation work, gather all necessary tools and materials. For a standard high flow filter element replacement, you will typically need clean lint-free rags or wipes, a torque wrench or strap wrench appropriate for your housing cap size, a clean plastic scraper or soft brush for gasket surface cleaning, fresh O-ring lubricant compatible with the seal material, and a new element along with any replacement O-rings or gaskets specified by the manufacturer.
Avoid using metal scrapers or abrasive pads on sealing surfaces, as these can score the housing and create permanent leak paths that persist even after a correct element installation. Having all materials within reach before you open the filter housing prevents contamination from extended exposure and minimizes system downtime. A clean work surface or drop cloth beneath the filter housing is also advisable for catching any residual fluid.
Pre-Installation Safety and System Preparation
Lockout and Depressurization Procedures
Safety is non-negotiable when servicing any pressurized system. Before touching a filter housing that contains a high flow filter element, you must follow your facility's lockout/tagout (LOTO) procedure to isolate the compressor or fluid pump from its energy source. Confirm isolation by attempting to start the machine. Next, slowly open the manual vent or drain valve on the filter housing to release all residual pressure. Never assume a system is depressurized simply because the compressor is off — check lines and housing pressure using a calibrated gauge.
For systems handling lubricated compressed air, be aware that the filter housing may contain oil-saturated condensate under pressure. Allow sufficient venting time and position a drain container under the housing drain port before opening. This protects both personnel and the surrounding work area. These precautions are especially important when replacing a high flow filter element on high-capacity compressors where housing volumes are large and residual pressure can be significant.
Inspecting the Filter Housing Interior
Once the housing is safely opened, perform a thorough inspection before installing the new high flow filter element. Look for signs of corrosion, cracking, or deformation on the inner housing walls and the seating ledges where the element's end caps rest. Check the central standpipe or core tube — if your system uses one — for straightness and any damage that might interfere with element seating. Any defects found at this stage should be addressed before proceeding.
Clean the housing interior with a dry lint-free cloth to remove accumulated sludge, old lubricant, or particulate contamination that could bypass the new filter or abrade the fresh sealing surfaces. Pay particular attention to the O-ring grooves at the top and bottom of the housing. Old O-ring material or hardened sealant compounds left in these grooves are a leading cause of leakage after high flow filter element replacement. Use a soft pick or wooden dowel to clean the grooves without scratching the seating surface.
Step-by-Step Installation of the High Flow Filter Element
Preparing the Element and Seals
Remove the new high flow filter element from its packaging only when you are ready to install it. Inspect the element visually for any shipping damage, particularly at the end cap sealing faces and the outer media surface. Confirm that the new O-rings or gaskets included in the replacement kit match the dimensions of those removed from the housing. If reusing existing O-rings, inspect them carefully for cracks, flattening, or surface damage — replacement is always the safer choice.
Apply a thin, even coat of clean lubricant to all O-rings and sealing surfaces of the high flow filter element end caps. The lubricant serves two purposes: it prevents the O-ring from rolling or tearing during installation, and it ensures that the seal seats properly under compression. Use only lubricant types specified for the O-ring material — silicone grease for NBR rubber seals is common, but confirm compatibility before applying. Avoid petroleum-based lubricants on EPDM seals, as chemical incompatibility will cause the seal to swell and fail prematurely.
For high flow filter element designs with a molded top seal and an O-ring bottom seal, handle the element carefully by the outer body to avoid contaminating the clean inner media. Confirm the flow direction arrow on the element matches the housing flow orientation — incorrect orientation is a subtle but serious installation error that reduces efficiency and can void the element's performance rating.
Seating and Securing the Element
Lower the high flow filter element carefully into the housing, aligning the bottom end cap with the lower seating ledge or standpipe. Apply gentle downward pressure while rotating the element slightly to ensure even seating on the lower seal. You should feel consistent resistance as the O-ring engages the seating groove — avoid forcing the element, as uneven pressure can roll the O-ring out of its groove, creating an immediate leak path.
Once the bottom is seated, engage the top end cap with the housing cap or upper seating surface. If your system uses a threaded housing cap, lower it onto the element and begin threading by hand first, ensuring no cross-threading occurs. Use a strap wrench or the manufacturer-specified torque value to tighten the housing cap. Over-tightening can crack the housing or extrude the O-ring material beyond the groove; under-tightening leaves insufficient compression for a positive seal. Correct torque is essential for the high flow filter element to function as designed.
Check that the element does not rock or shift within the housing once the cap is secured. Any movement indicates that the lower seal is not properly engaged or that the element length does not match the housing specification. Address this before re-pressurizing the system — a loose high flow filter element will vibrate during operation, causing premature media fatigue and possible bypass conditions.
Post-Installation Checks and System Restart
Pressure Testing and Leak Verification
With the housing secured, slowly reintroduce system pressure by partially opening the upstream isolation valve. Allow pressure to build gradually rather than hitting the new high flow filter element and its seals with a sudden pressure surge. Rapid pressurization can displace unseated O-rings before they have a chance to settle into their grooves under controlled compression. Once pressure has stabilized at operating level, inspect all housing joints, the cap seam, and any drain valve fittings for signs of leakage using soapy water solution or an ultrasonic leak detector.
Check the differential pressure gauge or indicator associated with the filter housing. A new high flow filter element should show minimal differential pressure at rated flow — if the initial reading is unexpectedly high, this may indicate that the element is installed with incorrect flow orientation, or that the element specification does not match the system's flow requirements. Document the initial differential pressure reading to establish a baseline for future maintenance scheduling.
Logging and Labeling the Installation
Once the installation is verified leak-free and the system is operating normally, complete your maintenance record with the installation date, element part number, initial differential pressure reading, and the technician's name. Attach a service tag to the filter housing noting the installation date and the recommended replacement interval for the high flow filter element in your specific application. Many facilities set replacement schedules based on time intervals, but monitoring differential pressure is the most accurate method for determining when a high flow filter element has reached the end of its service life.
Proper documentation is not merely administrative — it creates a maintenance history that helps identify patterns such as shortened element life due to upstream contamination sources, excessive system humidity, or operating conditions that exceed the element's original design parameters. This information guides future decisions about element specification, housing design, and upstream pre-filtration arrangements that protect the high flow filter element and extend its replacement interval.
Common Installation Mistakes and How to Avoid Them
Seal and Gasket Errors
The most frequent cause of post-installation leakage is improper seal handling. Technicians sometimes reuse worn O-rings out of convenience, fail to lubricate sealing surfaces, or install the O-ring in a twisted orientation. Each of these errors prevents the high flow filter element from forming a reliable seal under operating pressure. Always use new seals provided with the replacement element kit, and inspect each O-ring for its full circumference before installing.
Another common error is allowing solvent-based cleaning agents to contact rubber O-rings during housing cleaning. Solvents can swell, harden, or degrade seal materials, causing delayed failures that appear hours or days after installation. Stick to manufacturer-approved cleaning methods for both the housing interior and the sealing components associated with the high flow filter element.
Incorrect Element Specification or Orientation
Installing a high flow filter element with the wrong micron rating, flow direction, or physical dimensions is surprisingly common when multiple element types are stocked in a facility. Always verify the part number against the equipment's maintenance manual before opening the replacement packaging. A filter element that appears physically similar but has a different end cap geometry or seal profile will not seat correctly and may create a dangerous bypass condition that allows unfiltered air or fluid to pass downstream.
Flow direction arrows or inlet/outlet markings on the element should align with the housing's designated flow path. Installing a high flow filter element in reverse flow orientation may allow the element to function initially, but the media is designed for unidirectional loading and will shed trapped particulate back into the system if flow is reversed. This is particularly damaging in precision pneumatic systems where downstream contamination tolerance is extremely low.
FAQ
How often should a high flow filter element be replaced?
Replacement frequency for a high flow filter element depends on the application, air quality, and operating environment. Most manufacturers recommend replacement when the differential pressure across the element reaches a specified maximum — typically between 8 and 10 psi for compressed air applications. In very clean environments, an element may last 12 months or longer; in dusty or high-humidity conditions, more frequent replacement may be necessary. Always monitor differential pressure rather than relying solely on time-based schedules.
Can I clean and reuse a high flow filter element instead of replacing it?
Most high flow filter element designs use depth-loading filter media that is not designed for cleaning and reuse. Attempting to clean the media with compressed air or washing can damage the fiber structure, reduce filtration efficiency, and create channels that allow particulate bypass. Unless the element manufacturer explicitly states that cleaning is permissible and provides a validated cleaning procedure, always replace the element rather than attempting to restore it.
What causes a high flow filter element to fail prematurely?
Premature failure of a high flow filter element is most commonly caused by upstream contamination loads that exceed the element's design capacity, incorrect element specification for the application, water or oil slug ingestion from a failing separator or trap, or operating conditions that exceed the rated temperature and pressure range. Reviewing your system's pre-filtration arrangement and separator maintenance schedule is the best starting point when investigating shortened element service life.
Is it necessary to shut down the entire system to replace a high flow filter element?
In most single-train systems, yes — the filter housing must be fully isolated and depressurized before replacing the high flow filter element. Some larger industrial installations include duplex or multi-bank filter configurations that allow one filter vessel to be taken offline for element replacement while flow is diverted through a parallel vessel, enabling maintenance without full system shutdown. If uninterrupted operation is a priority for your facility, consulting with a filtration engineer about duplex housing design is a worthwhile investment.
