


Installing a compressor separator correctly is not just a maintenance checkbox. It is a precision task that directly affects oil carryover, compressed air quality, energy draw, and machine life. In practical terms, a correct compressor separator filter installation protects downstream equipment and keeps your compressor operating within stable differential pressure limits. This guide explains exactly how to install a compressor separator filter in a step-by-step workflow that reflects real industrial service conditions.
The most expensive mistakes with a compressor separator filter happen before the wrench turns. Wrong part dimensions, poor sealing preparation, rushed tightening, and skipped restart checks can all shorten separator life. The process below is built for maintenance teams that need repeatable results across shifts and sites. By following each stage in order, you can install a compressor separator filter safely, avoid leaks, and verify performance before the machine returns to full load.
Pre-Installation Preparation for Stable Results
Match the compressor separator filter to operating conditions
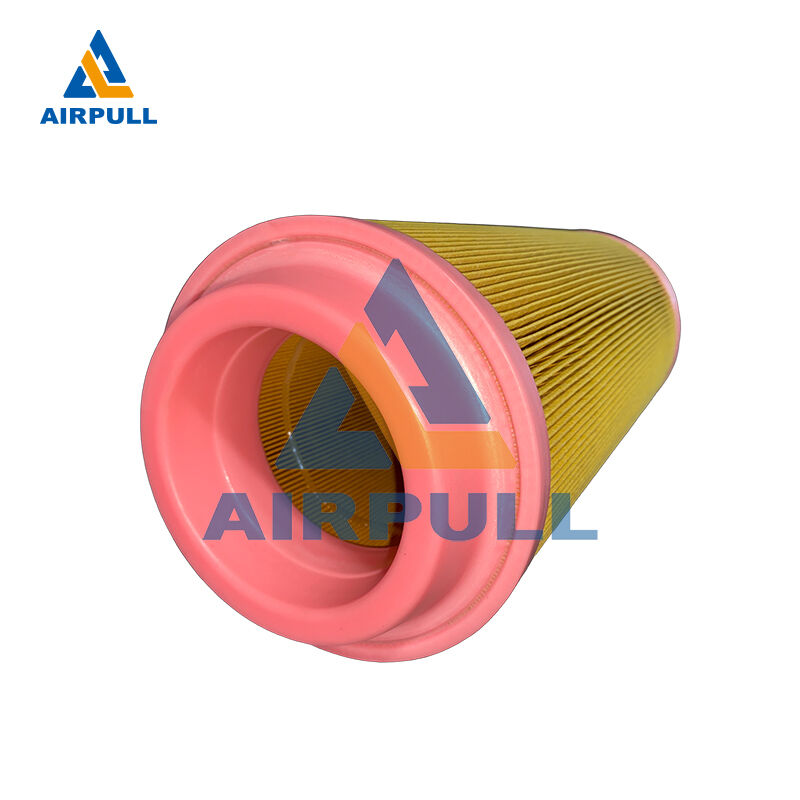
Start with part verification, because every later step depends on this. Confirm the compressor separator filter dimensions, flange style, pressure class, and material compatibility with your compressor model. Even small deviations in height or gasket profile can create bypass paths that increase oil carryover. A compressor separator filter that looks close is not good enough in high-duty industrial service.
Check service records for previous differential pressure trends and oil consumption. If the prior compressor separator filter failed early, the root issue may be thermal stress, contaminated lubricant, or abnormal cycling rather than part quality alone. Matching the compressor separator filter to your real duty cycle improves run length and helps avoid repeated changeouts.
Prepare tools, lockout, and clean work conditions
Before opening the separator vessel, isolate the system fully. Apply lockout and tagout, release pressure to zero, and allow the oil-air system to cool. A compressor separator filter should never be removed from a hot, pressurized vessel. This is a safety requirement and a quality requirement, since pressure residue can damage threads and sealing surfaces during removal.
Prepare a clean cloth, correct sockets, torque tools, replacement seals, and approved lubricant for gasket conditioning if specified. Keep debris away from the open vessel area. Dust entering during installation can contaminate the new compressor separator filter immediately and increase initial pressure drop.
Removal and Housing Inspection Before New Installation
Remove the old element without damaging contact surfaces
Open the separator housing according to equipment procedure and loosen the old element steadily. Sudden force can distort mounting points or scratch sealing lands. As you remove the used compressor separator filter, observe signs of collapse, varnish, gasket extrusion, or uneven saturation. These patterns reveal whether the previous compressor separator filter was overloaded, misaligned, or exposed to unsuitable oil conditions.
Place the removed element in a controlled disposal container. Do not leave the old compressor separator filter near the open housing where residue can re-enter the system. Good removal discipline supports clean installation and reduces early contamination risk.
Inspect and prepare the vessel, cover, and seal interfaces
After removal, inspect internal surfaces, sealing grooves, center pipe alignment, and fastener condition. The new compressor separator filter cannot compensate for a damaged housing or warped cover. Remove old gasket fragments completely and clean mating surfaces until smooth and dry. Any remaining fragment can create a micro-leak path.
This is the stage where many teams decide the reliability outcome. A clean, flat interface allows the compressor separator filter to seat evenly and maintain proper compression under thermal cycling. If threads or studs are damaged, repair them before inserting the new element. Skipping this step often leads to repeated rework within weeks.
Step-by-Step Installation of the New Element
Position and seat the compressor separator filter correctly
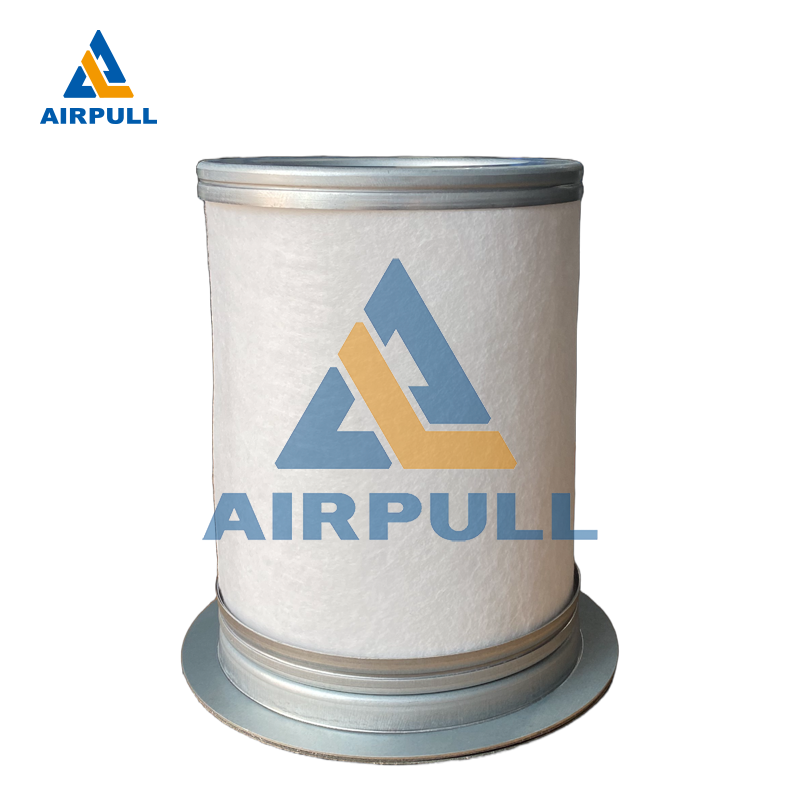
Unpack the new compressor separator filter only when the housing is fully ready. Verify that no packaging fibers remain on the element. If your procedure specifies light oil film on gasket surfaces, apply it evenly without excess. Insert the compressor separator filter straight onto the mounting point and avoid lateral force that can stress the seam or gasket edge.
Confirm full seating by checking contact uniformity around the seal. The compressor separator filter should sit flush with no tilt and no trapped debris. At this point, install the cover and hand-tighten fasteners in a cross pattern to maintain even load across the seal surface.
Apply controlled tightening and reconnect components
Final tightening must follow specified torque, not estimated hand force. Over-torque can crush gasket structure, while under-torque can allow leakage under load. A properly torqued compressor separator filter maintains seal integrity through start-stop cycles and vibration. Use incremental torque passes in a cross sequence for balanced compression.
Reconnect any related lines or sensors and verify orientation marks. If you are sourcing a replacement compressor separator filter, ensure the specification sheet aligns with your pressure and oil characteristics before restart. Final visual checks should confirm no tool debris, no pinched seals, and no loose hardware around the vessel.
Commissioning Checks After Installation
Start-up monitoring and early performance validation
Restart at no load or low load first, depending on plant procedure. Watch for pressure stability, leak points, and abnormal sound as oil circulation re-establishes. A newly installed compressor separator filter should stabilize quickly without sudden differential pressure spikes. Record baseline readings within the first operating window.
Monitor oil carryover indicators, discharge condition, and pressure behavior through ramp-up. If differential pressure rises too fast, stop and recheck seating, gasket condition, and housing cleanliness. Early correction protects the compressor separator filter from avoidable overload and prevents downstream contamination events.
Document baseline data for maintenance planning
After successful commissioning, document installation date, running hours, lubricant type, ambient profile, and baseline differential pressure. This turns each compressor separator filter replacement into a trackable reliability event rather than a reactive task. Trends over several cycles help identify whether change intervals are correct for your duty profile.
Strong documentation also improves cross-team consistency. When technicians use the same installation steps and recording format, compressor separator filter life becomes more predictable. That predictability supports better spare planning, fewer emergency shutdowns, and cleaner compressed air delivery.
Common Installation Errors and Practical Prevention
Seal handling mistakes that shorten service life
One frequent error is reusing old seals or mixing incompatible gasket materials. A compressor separator filter depends on seal integrity as much as media performance. Reused or mismatched seals can cause bypass, elevated oil carryover, and unstable pressure behavior soon after startup. Always fit the correct new sealing set required by the element design.
Another mistake is contaminated assembly. Touching seal faces with dirty gloves or leaving fibers on mating surfaces can compromise the compressor separator filter from day one. Clean handling practices are low effort but high impact for long service life.
Process discipline gaps during restart and handover
Teams sometimes rush directly to full production load after replacement. A compressor separator filter needs controlled commissioning so leaks or abnormal pressure trends can be detected early. Skipping staged startup removes the window where corrections are easiest and least costly.
Handover gaps create similar risk. If operators do not receive baseline readings and expected operating range, they may miss the first warning signs of compressor separator filter stress. A short handover note with key parameters keeps operation and maintenance aligned on performance expectations.
FAQ
How long does a compressor separator filter installation usually take?
In a prepared industrial setting, a standard compressor separator filter change can take roughly one to three hours, depending on vessel access, cooling time, and lockout procedure. The time is often driven more by safety isolation and inspection quality than by the physical swap itself.
Can I install a compressor separator filter without a torque wrench?
It is not recommended. A compressor separator filter relies on controlled gasket compression, and manual estimation is inconsistent. Using a torque wrench reduces leak risk, prevents over-compression, and improves repeatability across maintenance teams.
What is the first sign that a compressor separator filter was installed incorrectly?
The earliest signs are often abnormal differential pressure rise, minor oil mist carryover, or seepage around the housing after restart. These symptoms can appear quickly when a compressor separator filter is mis-seated, unevenly torqued, or installed on contaminated surfaces.
Should I replace other components at the same time as the compressor separator filter?
When service history indicates recurring contamination or pressure instability, it is wise to inspect related seals and condition-critical parts during the same outage. Coordinated maintenance around the compressor separator filter often reduces repeat shutdowns and improves overall system reliability.
Table of Contents
- Pre-Installation Preparation for Stable Results
- Removal and Housing Inspection Before New Installation
- Step-by-Step Installation of the New Element
- Commissioning Checks After Installation
- Common Installation Errors and Practical Prevention
-
FAQ
- How long does a compressor separator filter installation usually take?
- Can I install a compressor separator filter without a torque wrench?
- What is the first sign that a compressor separator filter was installed incorrectly?
- Should I replace other components at the same time as the compressor separator filter?
