


Changing a filter element for lubricant oil is a maintenance task that directly protects compressor reliability, bearing life, and oil cleanliness in industrial systems. The process is not difficult, but mistakes during shutdown, depressurization, removal, or restart can contaminate fresh oil and shorten equipment life. A correct method ensures the new filter element for lubricant oil captures particles as designed from the first minute of operation. In B2B environments where uptime and maintenance records matter, a repeatable procedure is more valuable than speed alone.
This guide explains how to change a filter element for lubricant oil step by step, including preparation, replacement technique, restart checks, and post-change verification. It is written for maintenance technicians, plant engineers, and service managers who need practical consistency across shifts and sites. When the filter element for lubricant oil is installed with the right sequence and cleanliness controls, pressure drop stabilizes faster and oil condition remains predictable. The result is fewer unplanned interventions and better control of lifecycle cost.
Preparation Before Replacement
Define the maintenance window and equipment condition
Start by choosing a controlled maintenance window rather than changing the filter element for lubricant oil during unstable production conditions. Confirm the machine can be safely stopped, isolated, and cooled to a safe handling temperature. Review recent alarms, differential pressure behavior, and oil analysis notes so the team understands why the filter element for lubricant oil is being replaced now. This context helps identify whether the change is routine or linked to abnormal contamination.
Check the service documentation for torque guidance, sealing points, and any model-specific cautions around the filter element for lubricant oil housing. Ensure permits and lockout-tagout steps are aligned with site procedures before anyone opens the system. In many facilities, poor preparation is the main source of leaks after a new filter element for lubricant oil is installed. A ten-minute pre-job review usually prevents rework that costs hours later.
Prepare tools, parts, and cleanliness controls
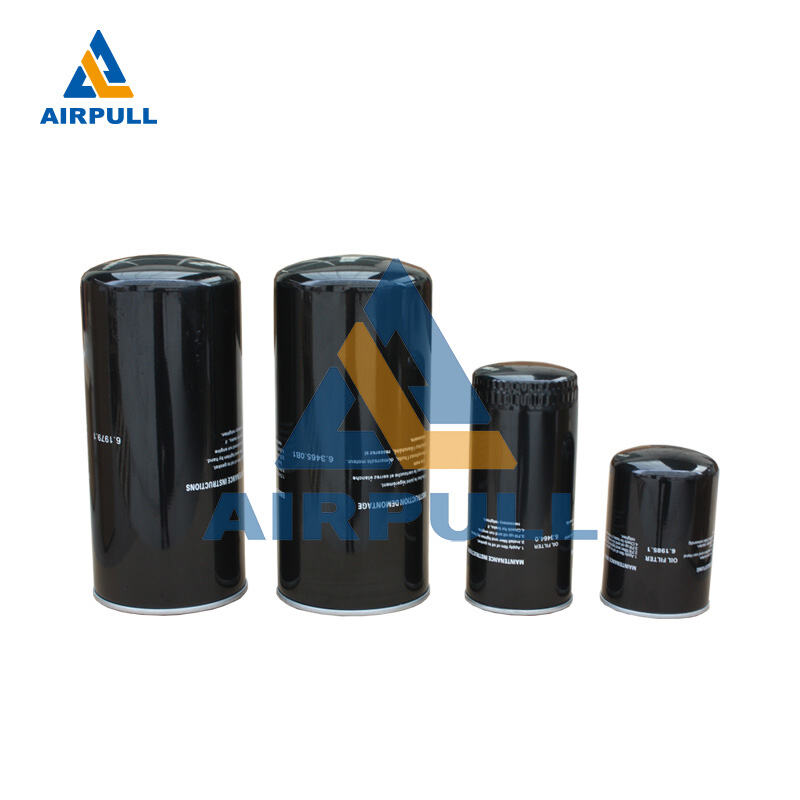
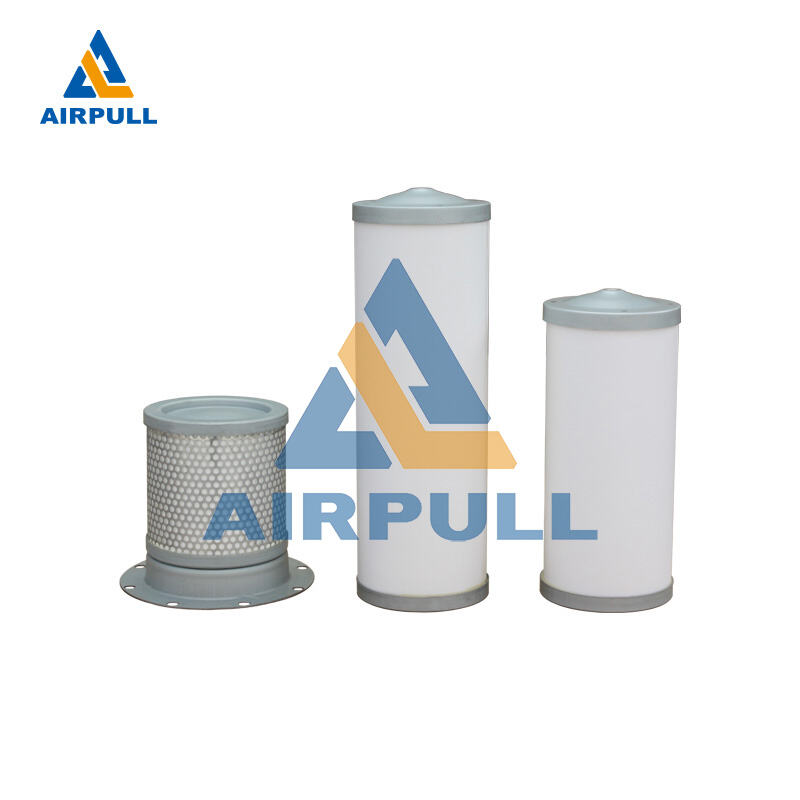
Gather the correct replacement part, clean lint-free wipes, approved lubricant for gasket wetting, catch containers, and the required hand tools. Keep the new filter element for lubricant oil in sealed packaging until the moment of installation to limit airborne dust exposure. Verify the part specification and connection style match the installed unit, because a near-match can still compromise sealing. The right filter element for lubricant oil must be dimensionally correct and rated for the system flow and pressure profile.
Prepare a clean work surface near the machine and separate used parts from new parts visually. Contamination events often happen when a new filter element for lubricant oil touches oily gloves, dirty benches, or open floor areas. Assign one person to handle clean components and another to manage drainage and waste handling. This simple role split improves quality control during every filter element for lubricant oil replacement cycle.
Safe Shutdown and Removal Process
Isolate, depressurize, and drain correctly
Shut down the equipment according to standard operating procedure and apply full energy isolation before touching the filter assembly. Open the designated vent and drain points to remove internal pressure and trapped oil around the filter element for lubricant oil chamber. Never assume pressure is gone because the machine is off; confirm by gauge and by controlled venting. A safe depressurization routine protects both personnel and the sealing surfaces needed by the next filter element for lubricant oil.
Capture drained oil in approved containers and keep the area clean to avoid slip risks and secondary contamination. Observe the drained fluid for metal fines, sludge, or unusual odor, because these clues explain why the previous filter element for lubricant oil loaded early. If contamination is heavy, record it for maintenance planning and oil circuit inspection. This turns a routine filter element for lubricant oil change into useful diagnostic input.
Remove the old element without contaminating the housing
Loosen the housing gradually and keep the opening covered as much as possible during removal. Extract the used filter element for lubricant oil carefully to avoid shaking debris back into the clean side of the circuit. Place the old component directly into a disposal container and keep it available for visual inspection if your site tracks failure modes. Handling discipline at this point has a major effect on how well the new filter element for lubricant oil performs after startup.
Inspect the housing interior, center tube area, and sealing face for residue or damaged surfaces. Remove old gasket fragments completely, since leftover material can cause bypass or external leakage even with a new filter element for lubricant oil. Use only approved cleaning materials and avoid aggressive scraping on precision surfaces. A clean, undamaged seat allows the next filter element for lubricant oil to seal evenly under pressure.
Installing the New Element the Right Way
Check part integrity and seating surfaces
Open the package immediately before installation and visually verify the new filter media, end caps, and gasket condition. Confirm again that the selected filter element for lubricant oil matches the required specification and orientation. Even small dents on sealing edges can reduce performance once differential pressure rises. A final pre-fit check reduces premature issues that are often blamed on the filter element for lubricant oil but are actually installation-related.
Wipe mating surfaces one more time and apply a light film of approved oil to the gasket if required by the manufacturer guidance. Do not over-lubricate, because excess oil can attract particles during assembly. Position the filter element for lubricant oil squarely to avoid cross-thread stress or uneven compression. Correct alignment at this stage determines whether the filter element for lubricant oil maintains stable sealing through thermal cycles.
Tighten correctly and document baseline data
Install and tighten the housing to the specified torque or tightening instruction rather than using force-based guesswork. Over-tightening can deform seals, while under-tightening can cause leakage after pressure recovers around the filter element for lubricant oil. Reconnect any sensors or indicators and ensure drain and vent points are returned to their operating positions. A properly closed system gives the new filter element for lubricant oil a clean start condition.
Before restart, record the maintenance timestamp, part code, technician name, and reason for change in your CMMS or log sheet. This creates traceability for the installed filter element for lubricant oil and supports trend analysis later. If your plant monitors differential pressure, define the expected baseline window after installation. Good records turn each filter element for lubricant oil replacement into data that improves future planning.
Restart, Verification, and Early Monitoring
Controlled restart and leak inspection
Restart the equipment using a controlled sequence and allow pressure to build gradually where possible. Observe the housing perimeter and connections for seepage as the new filter element for lubricant oil reaches operating pressure. A brief warm-up period helps reveal small sealing issues before they become larger leaks. Immediate inspection protects the system and validates that the filter element for lubricant oil was seated correctly.
Listen for irregular sounds and watch instrument behavior during the first operating interval. Rapid pressure fluctuations may indicate trapped air, incorrect seating, or an unsuitable filter element for lubricant oil specification. If any abnormal condition appears, stop and recheck rather than continuing production with uncertainty. Early intervention prevents damage that no filter element for lubricant oil can correct afterward.
Track post-change performance and optimize intervals
Compare post-change differential pressure and temperature behavior with historical baseline values from similar loads. A stable trend indicates the new filter element for lubricant oil is functioning as intended and flow restriction is within design expectations. If pressure drop rises too quickly, investigate upstream contamination sources instead of repeatedly replacing the filter element for lubricant oil. Root-cause thinking reduces unnecessary consumable use.
Use oil sampling and maintenance history to refine replacement intervals for each duty cycle. High-dust environments, frequent starts, and thermal stress can shorten life of a filter element for lubricant oil even when installation quality is high. In contrast, steady operation with good housekeeping may allow predictable interval extension within safe limits. This is how teams move from reactive filter element for lubricant oil changes to planned reliability management.
FAQ
How often should a filter element for lubricant oil be changed in industrial equipment?
The interval depends on operating hours, contamination level, load profile, and oil condition rather than a single fixed number. Most teams combine hour-based planning with differential pressure and oil analysis signals to decide when the filter element for lubricant oil is due. If your process has variable duty, trend data is more reliable than calendar-only scheduling. The best interval is the one that protects equipment while avoiding premature filter element for lubricant oil disposal.
Can a filter element for lubricant oil be changed without draining the full oil system?
In many systems, yes, but only when the design includes proper isolation and local drain capability around the housing. The key is complete depressurization and contamination control before removing the filter element for lubricant oil. If the circuit design does not isolate the housing safely, partial draining may still be required. Follow equipment-specific procedure so the filter element for lubricant oil change does not introduce air or debris.
What are the most common mistakes during filter element for lubricant oil replacement?
Frequent errors include poor cleaning of sealing faces, reusing damaged gaskets, forcing incorrect part sizes, and skipping torque guidance. Another common issue is opening packaging too early, which exposes the new filter element for lubricant oil to shop contamination. Incomplete restart checks also allow small leaks to go unnoticed until later shifts. A disciplined method keeps every filter element for lubricant oil change consistent and auditable.
What should be recorded after installing a new filter element for lubricant oil?
Record part identification, installation date, operating hours, differential pressure at startup, technician details, and any observed contamination in drained oil. This information links each filter element for lubricant oil to actual performance outcomes and helps diagnose early loading patterns. Over time, these records support interval optimization and better spare planning. Strong documentation turns routine filter element for lubricant oil maintenance into a reliability asset.
Table of Contents
- Preparation Before Replacement
- Safe Shutdown and Removal Process
- Installing the New Element the Right Way
- Restart, Verification, and Early Monitoring
-
FAQ
- How often should a filter element for lubricant oil be changed in industrial equipment?
- Can a filter element for lubricant oil be changed without draining the full oil system?
- What are the most common mistakes during filter element for lubricant oil replacement?
- What should be recorded after installing a new filter element for lubricant oil?
