


Changing an air compressor oil separator is a maintenance task that directly affects compressed air quality, lubricant consumption, and overall system reliability. In oil-injected rotary screw equipment, the air compressor oil separator is not a minor filter element but a core control point that keeps oil in the lubrication loop while delivering clean air downstream. When the air compressor oil separator is replaced correctly, plants usually see more stable pressure behavior, lower carryover, and fewer unplanned shutdowns. This guide explains how to change an air compressor oil separator with a practical, workshop-ready workflow for industrial teams.
The process is not only about removing one part and fitting another. A successful air compressor oil separator change depends on isolation safety, correct torque practice, seal integrity, and proper restart checks under load. Many failures blamed on a new air compressor oil separator are caused by installation mistakes, contaminated seats, or venting issues in the separator vessel. By following the sequence below, maintenance teams can install an air compressor oil separator with fewer repeat interventions and longer service life.
Understanding the Service Role Before You Start
How the separator supports compressor performance
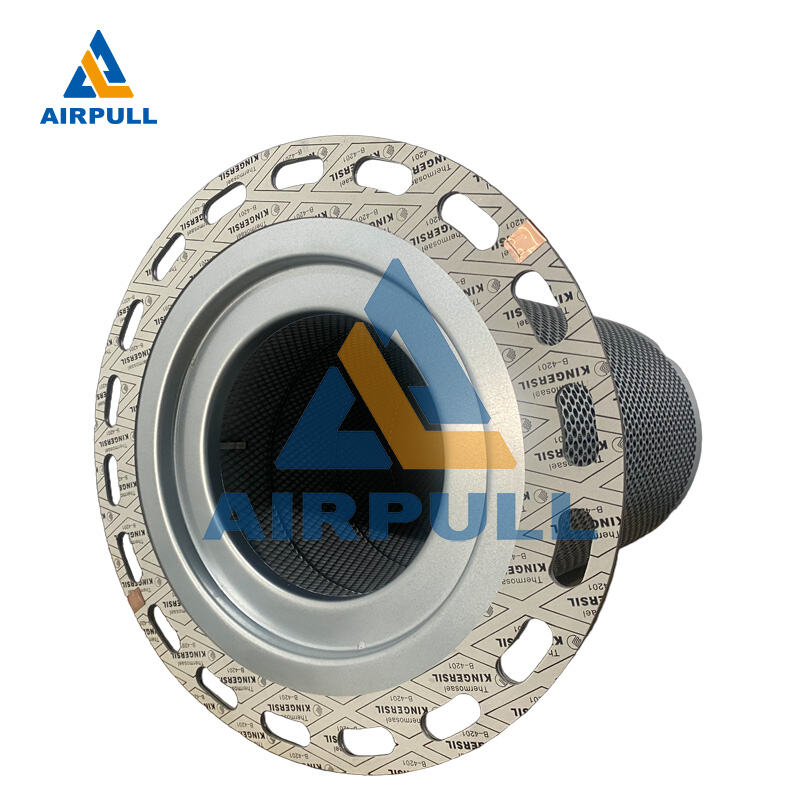
Inside an oil-injected screw compressor, compressed air and atomized oil leave the airend as a mixed stream. The air compressor oil separator removes fine oil aerosols so most lubricant returns to circulation instead of passing into the air network. A healthy air compressor oil separator helps maintain low oil carryover, protects dryers and filters, and keeps end-use processes cleaner. This is why changing an air compressor oil separator on time is linked to both mechanical reliability and product quality in production settings.
As the air compressor oil separator loads with contaminants, pressure drop rises across the element. That extra restriction increases energy demand and can disturb oil return balance. If the air compressor oil separator stays in service too long, operators may notice higher oil top-up frequency, vent emissions, or nuisance alarms. Understanding these effects before the job helps technicians evaluate results after replacement.
What happens when replacement is delayed
Delayed replacement often causes a chain reaction rather than a single fault. A saturated air compressor oil separator can increase vessel pressure differential, stress seals, and raise operating temperature in marginal cooling conditions. Over time, that environment may degrade lubricant faster and shorten component life. Replacing the air compressor oil separator at the right interval is therefore a cost control measure, not only a consumable change.
Many sites wait for severe symptoms, but early signs are easier to manage. If oil carryover trends upward, if differential pressure trends up cycle after cycle, or if downstream filters clog unusually fast, the air compressor oil separator should be inspected and scheduled for replacement. Acting at this stage prevents emergency work and protects stable output.
Preparation and Safety Controls for a Clean Changeout
System isolation, depressurization, and cooldown
Before opening the separator vessel, apply full lockout and tagout according to site procedure. Shut down the compressor, isolate electrical input, and ensure no automatic restart signal can energize the machine. Depressurize the system fully and verify zero pressure at the vessel before loosening any cover or fitting. Never remove an air compressor oil separator from a pressurized tank.
Allow sufficient cooldown time after shutdown. Hot oil can cause burns and may distort handling during removal of the old air compressor oil separator. A stable, cool condition also helps seal surfaces remain dimensionally consistent for accurate reassembly. This step improves both safety and installation quality.
Parts, tools, and pre-installation checks
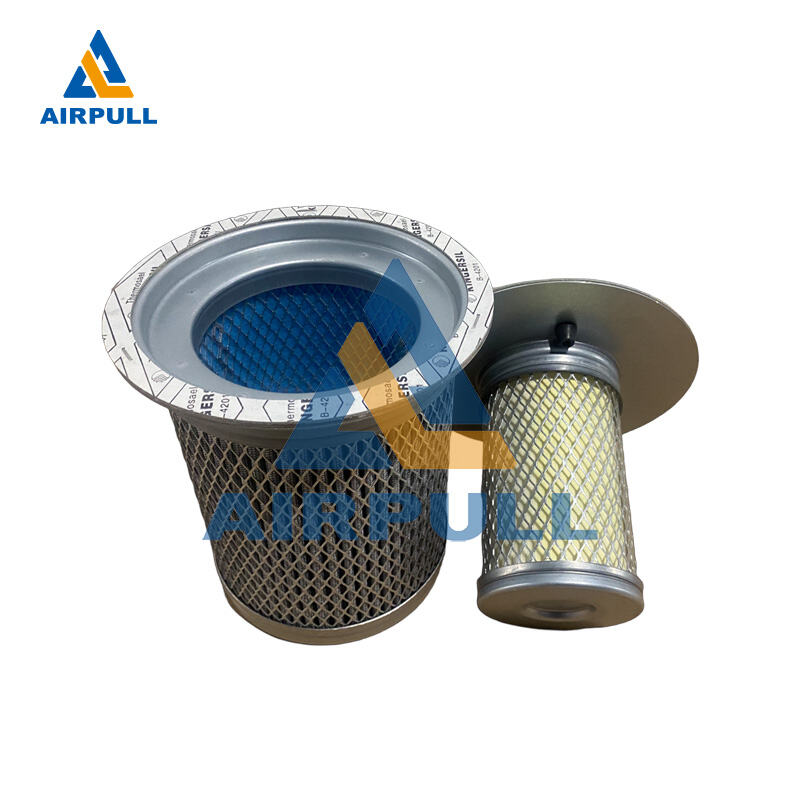
Prepare the replacement element, fresh seals or gasket set, approved lubricant for seal wetting, lint-free wipes, and calibrated torque tools. Confirm part dimensions and interface style before opening the machine, because similar models may use different air compressor oil separator heights or flange patterns. Using the wrong element can lead to immediate leakage or poor separation. Verify that all required vent and return passages are clean and accessible.
Use a verified replacement such as this air compressor oil separator when preparing for service. Keep the new part sealed until the moment of installation to avoid dust loading before startup. Also inspect the vessel interior with good lighting and clean any debris that could compromise the new seal. Preparation quality is often the difference between a first-time fix and repeat downtime.
Step-by-Step Procedure to Change the Separator Element
Opening the vessel and removing the old element
After confirming zero pressure, loosen fasteners in a cross pattern to release cover load evenly. Remove the cover carefully and protect mating faces from scratches. Lift out the old air compressor oil separator straight up where possible to avoid scraping debris into the sump. If resistance is high, avoid force that can bend internal fittings; instead, confirm all retainers are removed and use controlled extraction.
Inspect the removed air compressor oil separator for clues about system condition. Heavy sludge, varnish, or abnormal deformation can indicate heat stress, poor oil condition, or long change intervals. Record these findings because they help adjust future maintenance timing. Wipe the housing and seat area until fully clean and dry.
Installing the new separator with seal integrity
Check that the new air compressor oil separator is free from transport damage and that seals are correctly positioned. Lightly wet O-rings with compatible lubricant, then place the element squarely into its seat without twisting. Ensure any oil return pickup tube aligns correctly; a misaligned return path can cause high oil carryover even with a new air compressor oil separator. Refit the cover and hand-tighten bolts first to keep even compression.
Tighten fasteners in stages using a cross sequence and the specified torque values. Uneven torque can deform cover surfaces and create micro-leaks around the air compressor oil separator flange. Confirm all connections disturbed during service are restored, including sensors, vent lines, and return fittings. Final visual checks before restart reduce the chance of immediate rework.
Restart checks, leak verification, and baseline recording
Restart the compressor under no-load conditions first, then transition to normal duty while watching pressure and temperature trends. Check the vessel area for seepage around cover joints and fittings related to the air compressor oil separator circuit. Listen for abnormal hissing that may indicate a seal or vent issue. If any leak is found, shut down and correct it before continued operation.
Once stable, record baseline values after installing the new air compressor oil separator, including differential pressure, oil level behavior, and carryover observations. These baseline numbers make future diagnosis faster and more accurate. A documented baseline also helps identify whether later issues are separator-related or caused by other components. Good records turn a routine change into a measurable reliability improvement.
Post-Change Reliability and Interval Management
Setting realistic service intervals by duty profile
A fixed calendar interval is often less effective than condition-based planning. The life of an air compressor oil separator depends on load factor, ambient dust, oil quality, and operating temperature stability. In heavy-duty cycles, the air compressor oil separator may require earlier replacement than nominal guidance. In cleaner and cooler environments, service life can be longer without compromising performance.
Build your interval around observed trends rather than assumptions. If the same compressor shows rising differential pressure sooner each cycle, review oil cleanliness and intake filtration along with air compressor oil separator age. Aligning interval decisions with real operating data prevents both premature changes and overdue changes. This approach lowers maintenance cost while protecting uptime.
Monitoring indicators that confirm a successful change
After replacement, stable oil level behavior and reduced carryover are primary success signals. A properly installed air compressor oil separator should also support predictable pressure performance and less downstream contamination. Track post-service values over several shifts to verify that improvements persist under varying loads. One quick check at startup is not enough for industrial validation.
When deviations appear, troubleshoot systematically. Rising carryover after a fresh air compressor oil separator can point to return line blockage, incorrect oil, or vessel sealing faults rather than element quality alone. Consistent monitoring protects the new air compressor oil separator and helps teams correct root causes early. This is how separator maintenance becomes part of a broader reliability program.
FAQ
How often should an air compressor oil separator be changed?
The right interval depends on operating hours, contamination level, oil condition, and temperature profile. Many facilities begin with manufacturer guidance, then refine timing using differential pressure and carryover trends. A data-based interval is more accurate than a fixed calendar rule for each air compressor oil separator.
Can I change only the separator element without other maintenance tasks?
You can replace the element alone, but results are better when the vessel, seals, and return path are checked at the same time. A new air compressor oil separator cannot compensate for blocked return lines or damaged gaskets. Pairing the change with quick inspection steps reduces repeat shutdowns.
Why is oil carryover still high after installing a new separator?
Persistent carryover usually indicates an installation or system issue rather than immediate element failure. Common causes include misaligned return tubing, seal leaks, unsuitable lubricant condition, or excessive pressure fluctuation. Recheck the air compressor oil separator seating and verify the full oil circuit before replacing parts again.
What is the biggest mistake during separator replacement?
The most common critical error is opening the vessel before full depressurization and proper lockout. From a performance perspective, poor cleaning of the seating area and incorrect torque are frequent reasons a new air compressor oil separator underperforms. Controlled preparation and a disciplined installation sequence prevent both safety incidents and reliability losses.
