


Replacing an air oil separator element is a precision maintenance task that directly affects compressor efficiency, discharge air quality, and downstream equipment reliability. The process is not only about swapping parts; it is about controlling contamination, preserving seal integrity, and restoring stable pressure behavior. In industrial operations, a correctly replaced air oil separator element helps reduce oil carryover, keeps energy use predictable, and prevents unplanned shutdowns that can disrupt production schedules.
A reliable replacement method follows a clear sequence: diagnose replacement timing, isolate the machine safely, remove the used air oil separator element without introducing debris, install the new component with correct sealing and torque practice, then verify performance under load. When each step is done with discipline, the air oil separator element performs as intended and the compressor returns to steady operation with lower risk of recurrent faults.
Preparation and Safety Baseline
Confirm service indicators and operating symptoms
Before opening the separator vessel, confirm that replacement is justified by data rather than routine alone. A rising differential pressure trend, visible oil mist downstream, and increased oil top-up frequency are common indicators that the air oil separator element is approaching end of service life. These signals are stronger when they occur together across multiple shifts.
Cross-check runtime hours with your maintenance record and operating duty cycle. A compressor running at high load and elevated temperature will often consume the service life of an air oil separator element faster than one with stable ambient conditions. This evaluation helps you avoid early replacement costs and delayed replacement risks.
If your process includes sensitive pneumatic tools or product-contact air, replacement timing becomes even more critical. In those environments, degraded separation performance from an aging air oil separator element can create quality issues far beyond the compressor room. Treat the decision as a production reliability action, not a simple spare-parts event.
Lockout depressurization and contamination control
Apply full lockout and tagout before any mechanical intervention. Isolate power, close relevant valves, and ensure the separator tank is completely depressurized to zero before loosening fasteners. Handling an air oil separator element under residual pressure can damage hardware and create a serious safety incident.
Prepare a clean work zone with lint-free wipes, capped tools, and dedicated trays for removed hardware. Dust and fibers introduced during service can compromise the new air oil separator element during the first hours of operation. Contamination discipline is one of the most overlooked factors in post-maintenance reliability.
Use appropriate gloves and avoid touching critical sealing surfaces with oily or dirty hands. Even minor debris on gasket interfaces can cause bypass paths that reduce air oil separator element effectiveness. A careful setup at this stage prevents repeated disassembly later.
Removal Process for the Existing Element
Access separator housing without introducing debris
Open the separator cover gradually and in the correct sequence so mechanical stress is released evenly. If bolts are removed unevenly, cover distortion can occur and later sealing may become inconsistent. This matters because the air oil separator element depends on stable clamping geometry to maintain internal flow behavior.
As soon as the housing is open, protect exposed internals from airborne particles. Place clean covers on adjacent openings and avoid setting removed parts on dirty surfaces. During this step, the area around the air oil separator element is vulnerable to contamination that may not be visible during reassembly.
Inspect the interior for sludge, varnish, or metallic particles before extracting the old component. These deposits can indicate broader lubrication or thermal management issues that accelerate air oil separator element degradation. Documenting findings now improves future maintenance planning.
Extract inspect and document failure patterns
Lift out the used air oil separator element carefully to avoid tearing media or dropping residual oil. Keep the component upright during removal so trapped oil does not spill into clean areas. Controlled handling supports better failure analysis and cleaner installation conditions.
Check the old air oil separator element for collapsed media, hardened seals, carbonized deposits, and uneven staining. Each pattern can point to a different root cause such as excessive temperature, incompatible oil chemistry, or pressure pulsation. This inspection is valuable because repeating the same operating conditions can shorten the life of the new part.
Record part code, service hours, observed condition, and any abnormal readings at removal time. A documented history allows maintenance teams to correlate compressor behavior with air oil separator element lifespan. Over time, this data supports more accurate interval decisions and fewer emergency interventions.
Installation Process for the New Element
Verify specifications and pre-install checks
Before installation, verify that the replacement air oil separator element matches the required dimensions, sealing profile, and pressure class for the compressor model. Fit errors can produce bypass leakage or excessive pressure drop even when the unit appears to run normally. Confirming compatibility protects both performance and warranty conditions.
Inspect mating surfaces for nicks, corrosion, and residue, then clean thoroughly with approved materials. A new air oil separator element cannot compensate for damaged sealing seats. Surface condition is a direct contributor to leak prevention and stable differential pressure.
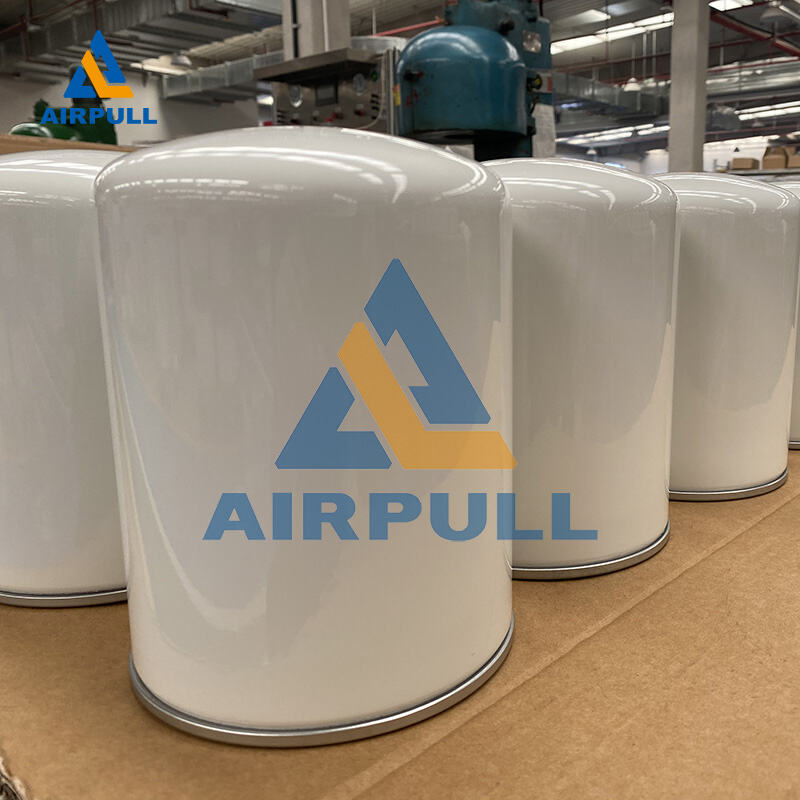
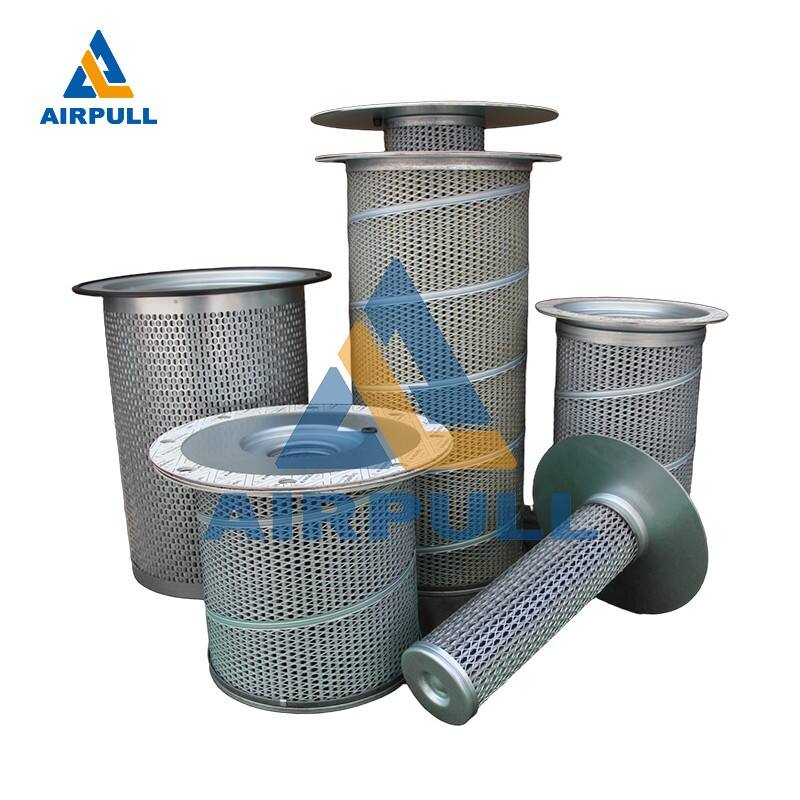
Select a quality replacement from a controlled source, such as this air oil separator element, when specifications align with your service requirements. The key is not branding language but traceable fit, consistent media quality, and documented compatibility for industrial duty.
Seat torque and reassemble for leak-free operation
Place the new air oil separator element squarely in position and confirm full seating before applying clamping force. Misalignment at this moment can damage seals and create internal bypass channels that reduce separation efficiency. Visual confirmation from multiple angles is a practical safeguard.
Tighten cover bolts in a cross pattern using specified torque values and incremental passes. Uneven torque can distort the housing and compromise the compression of the air oil separator element gasket. Consistent torque practice is often the difference between first-time success and repeat maintenance.
Reinstall all fittings, reconnect sensor lines, and verify that drains and return paths are unobstructed. Proper oil return function supports the designed operation of the air oil separator element and limits carryover under load changes. Finish with a final visual check for tools, rags, and loose hardware before startup.
Post-Replacement Commissioning
Controlled restart and performance verification
Restart the compressor under controlled conditions and monitor pressure, temperature, and differential pressure trend during warm-up. A new air oil separator element should deliver stable behavior without sudden alarms or abnormal vibration. Early monitoring catches installation issues before they become production events.
Observe discharge air quality and confirm that oil carryover returns to expected levels. If carryover remains high after replacing the air oil separator element, investigate scavenging line condition, minimum pressure valve behavior, and oil type suitability. Post-service verification must evaluate the full separation system, not only one component.
Document baseline readings immediately after service and again after several operating hours. These points become the reference for future condition monitoring of the air oil separator element. Reliable baselines improve confidence in maintenance decisions and reduce unnecessary part changes.
Establish maintenance intervals and records
Set interval targets using real operating data rather than fixed calendar assumptions. Ambient dust, duty cycle, oil condition, and thermal profile all influence air oil separator element longevity. Data-based intervals reduce both under-maintenance and over-maintenance costs.
Integrate inspections of filters, coolers, and lubricant condition into the same service program. The air oil separator element performs best when the surrounding system is healthy and clean. Isolated component replacement without system-level checks often leads to repeat symptoms.
Maintain a structured record for each air oil separator element change, including reason for replacement and post-startup results. This practice supports reliability analysis, inventory planning, and audit readiness in regulated industrial environments. Over time, record quality becomes a strategic maintenance asset.
Common Replacement Errors and How to Prevent Them
Misalignment overtightening and seal damage
One frequent error is forcing the air oil separator element into place when alignment is slightly off. This can nick seals or deform seating areas, causing slow leaks and unstable pressure behavior. Corrective action is simple: stop, realign, and verify seating before clamping.
Another issue is overtightening bolts beyond recommended torque in an attempt to prevent leaks. Excessive force can warp covers and reduce the effective sealing performance of the air oil separator element. Precision torque control is safer and more reliable than extra force.
Skipping housing cleanliness checks also leads to repeated failures. Debris left behind during changeout can damage a new air oil separator element early in its service life. Clean assembly discipline is the lowest-cost method to improve replacement outcomes.
Wrong interval assumptions and oil compatibility gaps
Using the same replacement interval across all compressors is rarely accurate. Machines with higher load factors may require earlier air oil separator element service, while lightly loaded units may run longer safely. Interval decisions should reflect actual duty and condition trends.
Lubricant quality and compatibility are equally important. An incompatible or degraded oil can increase deposits and shorten air oil separator element life, even when installation quality is high. Oil analysis and controlled top-up practices help prevent this hidden failure driver.
Ignoring small warning signs after installation, such as gradual pressure-rise deviation, often turns a minor issue into an outage. Tracking trend data after each air oil separator element replacement allows early correction with minimal downtime impact. Consistent follow-through is part of the replacement process itself.
FAQ
How often should an air oil separator element be replaced in industrial service?
There is no universal hour value for every site. Replace the air oil separator element based on differential pressure trend, oil carryover behavior, operating temperature, and actual duty cycle. Data-driven timing is more reliable than fixed calendar replacement.
Can a compressor run temporarily with a degraded air oil separator element?
It may continue running for a short period, but this increases risk of oil carryover, energy inefficiency, and contamination of downstream equipment. Operating too long with a worn air oil separator element often creates larger maintenance and production costs than planned replacement.
What is the most critical step during installation?
The most critical step is correct seating and controlled torque during reassembly. Even a high-quality air oil separator element can underperform if seals are misaligned or clamping force is uneven. Clean surfaces and torque discipline are central to first-pass success.
Why does high oil carryover sometimes continue after replacement?
Persistent carryover can come from issues outside the new air oil separator element, including blocked oil return lines, valve problems, incorrect oil, or contamination introduced during maintenance. Troubleshooting should review the full separation circuit and operating conditions, not only the replaced part.
