


Changing an air oil separator filter is a maintenance task that directly affects compressor efficiency, oil carryover, discharge air quality, and long-term operating cost. In industrial settings, a delayed or poorly executed air oil separator filter replacement often leads to higher differential pressure, increased energy draw, and unstable downstream processes. The right method is not only about removing one part and installing another, but about controlling contamination, sealing integrity, and restart verification. This guide explains exactly how to change an air oil separator filter in a practical, production-focused way.
For most maintenance teams, the biggest risk during an air oil separator filter change is not the mechanical swap itself, but skipping control points that protect reliability. A correct air oil separator filter procedure starts before shutdown and ends only after stable pressure, temperature, and oil carryover are confirmed. When teams standardize each step, the air oil separator filter lasts closer to its intended interval and the compressor returns to service with predictable performance. The sections below break the process into clear execution stages.
Prepare for Safe and Accurate Replacement
Confirm service interval and replacement triggers
Before opening the system, verify whether the air oil separator filter is due by operating hours, differential pressure trend, or oil carryover symptoms. A rising pressure drop across the air oil separator filter is a common sign that flow resistance is increasing and the compressor is working harder than necessary. If discharge air shows visible oil mist or downstream filters load unusually fast, the air oil separator filter may already be beyond optimal service condition. Confirming the trigger prevents premature changes and avoids running an exhausted element too long.
Review recent logs for load profile, ambient temperature, and lubricant condition because these variables influence air oil separator filter life. Compressors in dusty, humid, or high-duty environments can shorten the effective interval of an air oil separator filter even when nameplate guidance suggests a longer cycle. If operating data is incomplete, treat the next replacement as a baseline event and begin stricter tracking after installation. A data-driven decision improves both maintenance timing and inventory planning.
Isolate energy sources and prepare tools
A safe air oil separator filter change requires full lockout and pressure release before any housing is opened. Isolate electrical power, close relevant valves, and confirm zero pressure in the separator vessel according to site procedure. Technicians should wear appropriate PPE because residual oil and warm surfaces are common around the air oil separator filter area. Never assume internal pressure is gone without gauge verification and controlled venting.
Prepare clean tools, lint-free wipes, replacement seals, and torque references before removing the existing air oil separator filter. Good preparation reduces open-time exposure and lowers contamination risk during installation. Keep the new air oil separator filter in its protective packaging until the moment of fitment to avoid dust loading on media and seals. An orderly setup often determines whether the change is routine or problematic.
Remove the Existing Air Oil Separator Filter Correctly
Open the housing with contamination control
When access covers are removed, keep the exposed zone clean because debris introduced at this stage can shorten new air oil separator filter life. Wipe surrounding surfaces before opening, then place components on a clean mat rather than directly on workshop floors. If the compressor design uses a top-mounted element, lift carefully to avoid dropping trapped oil back into uncontrolled areas. Clean handling protects both the separator internals and the next air oil separator filter.
Inspect gaskets, fasteners, and seating faces as soon as the housing is open. Damage around flange surfaces can create bypass paths that undermine air oil separator filter performance even when the element itself is new. If old gasket residue remains, remove it fully without scratching the mating metal. A smooth, clean sealing interface is essential for reliable operation after the air oil separator filter swap.
Extract the used element and inspect failure signals
Remove the used air oil separator filter steadily and keep it upright to prevent unnecessary spills. During removal, check for deformation, torn media, carbon buildup, or unusual sludge because each pattern points to a different root cause. A collapsed air oil separator filter may indicate excessive differential pressure or delayed maintenance, while sticky deposits may suggest lubricant stress or temperature issues. These observations are valuable for preventing repeat failures.
Evaluate the old seal condition and contact band to confirm whether the previous air oil separator filter was seated uniformly. Uneven compression marks can indicate misalignment or improper tightening sequence during the last service. Document findings with photos and short notes so future technicians can compare trends at each air oil separator filter interval. Better records turn one maintenance action into long-term reliability improvement.
Install the New Air Oil Separator Filter with Correct Sealing Practice
Validate part fit and prepare sealing surfaces
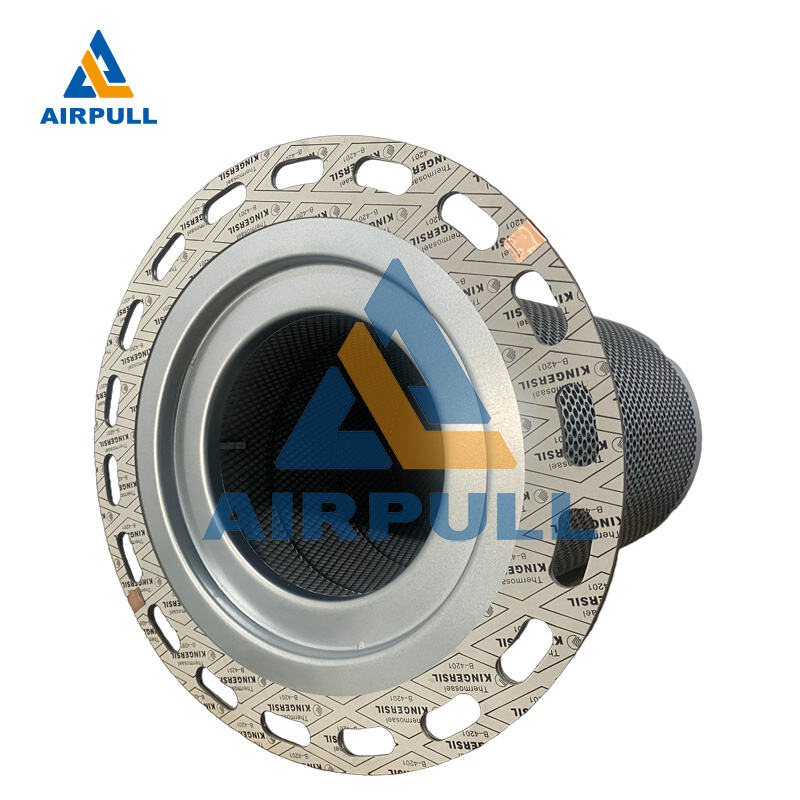
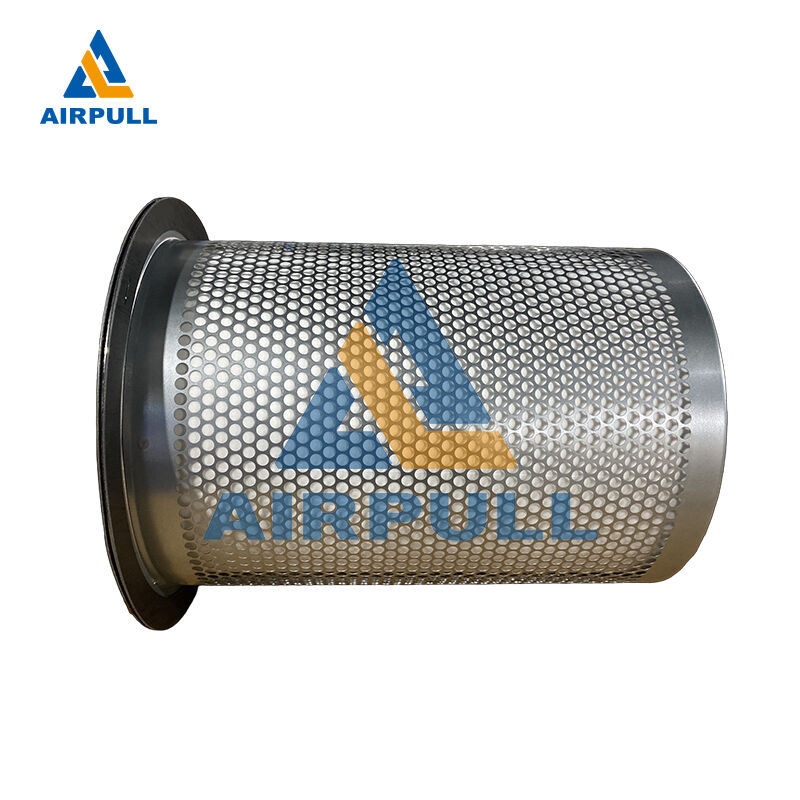
Before installation, confirm dimensions and configuration of the replacement air oil separator filter against the equipment requirement. Even minor mismatch in height, gasket profile, or flow design can compromise separation efficiency and pressure behavior. Many teams source replacements through a qualified specification page such as air oil separator filter documentation to avoid fitment errors. Correct part verification prevents rework and unplanned downtime.
Clean all mating faces again immediately before placing the new air oil separator filter. Lightly prepare seals as required by equipment guidance, then ensure the element sits squarely without forced alignment. If the air oil separator filter uses locating features, confirm they are fully engaged before tightening any fastener. Proper seating at this stage is the foundation of leak-free operation.
Apply controlled tightening and careful reassembly
Tighten covers or retainers in an even pattern so the air oil separator filter seal compresses uniformly. Over-tightening can deform the gasket, while under-tightening can allow bypass and vibration loosening during operation. Use the specified torque method whenever available rather than relying on feel alone. Consistent torque practice extends air oil separator filter stability through the full service cycle.
After mechanical closure, check every disconnected line, sensor, and fitting around the air oil separator filter area. Reconnect vent lines and confirm no tools or wipes remain inside the service zone. A final visual sweep should verify clean assembly, correct fastener position, and dry external surfaces. Attention to these details reduces startup surprises after the air oil separator filter change.
Restart, Verify Results, and Lock in Future Reliability
Run a controlled startup and confirm performance
Bring the compressor online gradually and watch pressure, temperature, and vibration during the first minutes after air oil separator filter replacement. Inspect the housing perimeter for leaks and listen for abnormal airflow noise that may indicate seating issues. A healthy air oil separator filter installation should stabilize quickly with normal differential behavior and no external oil weeping. If readings drift early, shut down and correct before returning to full duty.
Check downstream condition indicators to verify the new air oil separator filter is delivering expected separation quality. Reduced carryover and smoother pressure response are common immediate benefits when the air oil separator filter is installed correctly. Do not close the work order until startup data confirms a stable baseline under typical load. Verification is part of the replacement, not an optional extra step.
Document baseline data and optimize next interval
Record the installation date, run hours, lubricant status, and post-change readings linked to this air oil separator filter event. Baseline differential pressure right after replacement is especially useful for judging future air oil separator filter loading rate. Over time, this trend helps maintenance teams schedule changes based on real operating conditions rather than fixed calendar assumptions. Better timing lowers total lifecycle cost while protecting equipment health.
Include brief technician notes on seal condition, contamination level, and any correction made during the air oil separator filter process. These notes create continuity across shifts and reduce repeated troubleshooting at the next outage. Standardized documentation also improves spare planning because the team can predict air oil separator filter demand with greater accuracy. A disciplined closeout turns routine maintenance into measurable performance control.
FAQ
How often should an air oil separator filter be changed in industrial compressors?
The right interval depends on operating hours, load factor, ambient conditions, and lubricant quality, not only a fixed calendar period. Most teams combine hour-based planning with differential pressure trends to decide when an air oil separator filter should be replaced. Harsh environments can shorten air oil separator filter life significantly, so logged performance data is the most reliable guide.
Can I keep running if differential pressure rises but output still looks normal?
Running with elevated differential pressure usually increases energy consumption and stresses the system even before obvious output issues appear. A loaded air oil separator filter can also increase carryover risk as conditions worsen. It is better to schedule the air oil separator filter change promptly once thresholds are exceeded rather than waiting for a visible failure.
What are common mistakes during an air oil separator filter replacement?
Frequent errors include incomplete depressurization, poor cleanliness during opening, reused damaged seals, and uneven tightening on reassembly. Any of these can reduce air oil separator filter effectiveness or create leaks and bypass flow. Another common issue is missing startup verification, which leaves air oil separator filter problems undiscovered until production impact appears.
Does a new air oil separator filter immediately reduce oil carryover?
In most systems, yes, a correctly installed air oil separator filter improves separation performance right away once operating conditions stabilize. Results still depend on overall compressor condition, lubricant state, and whether there are parallel faults in valves or downstream components. When the air oil separator filter is changed with proper procedure and clean sealing, improvement is usually clear in early operating checks.
Table of Contents
- Prepare for Safe and Accurate Replacement
- Remove the Existing Air Oil Separator Filter Correctly
- Install the New Air Oil Separator Filter with Correct Sealing Practice
- Restart, Verify Results, and Lock in Future Reliability
-
FAQ
- How often should an air oil separator filter be changed in industrial compressors?
- Can I keep running if differential pressure rises but output still looks normal?
- What are common mistakes during an air oil separator filter replacement?
- Does a new air oil separator filter immediately reduce oil carryover?
