


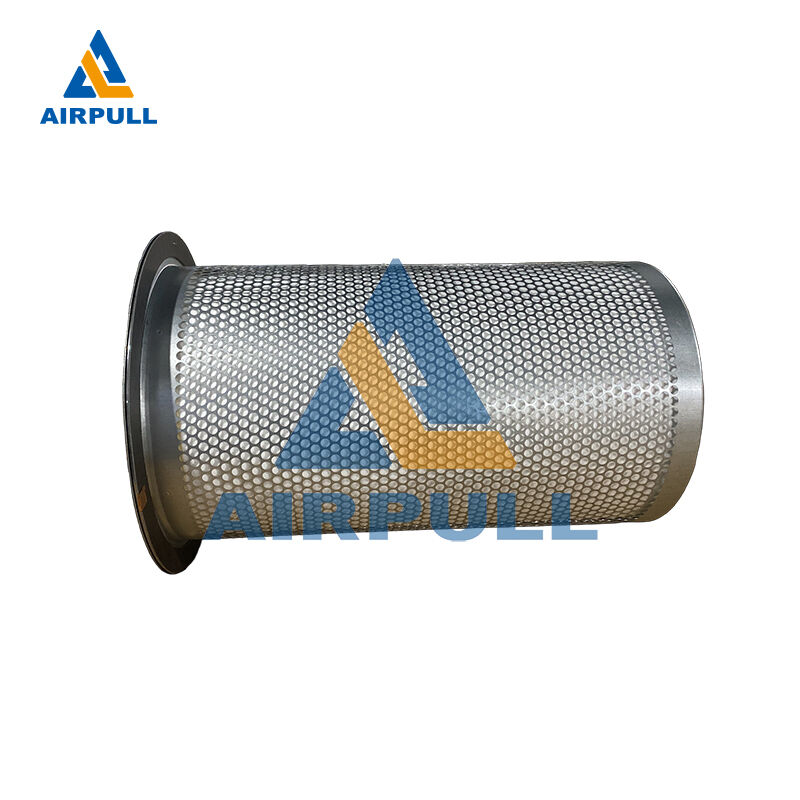
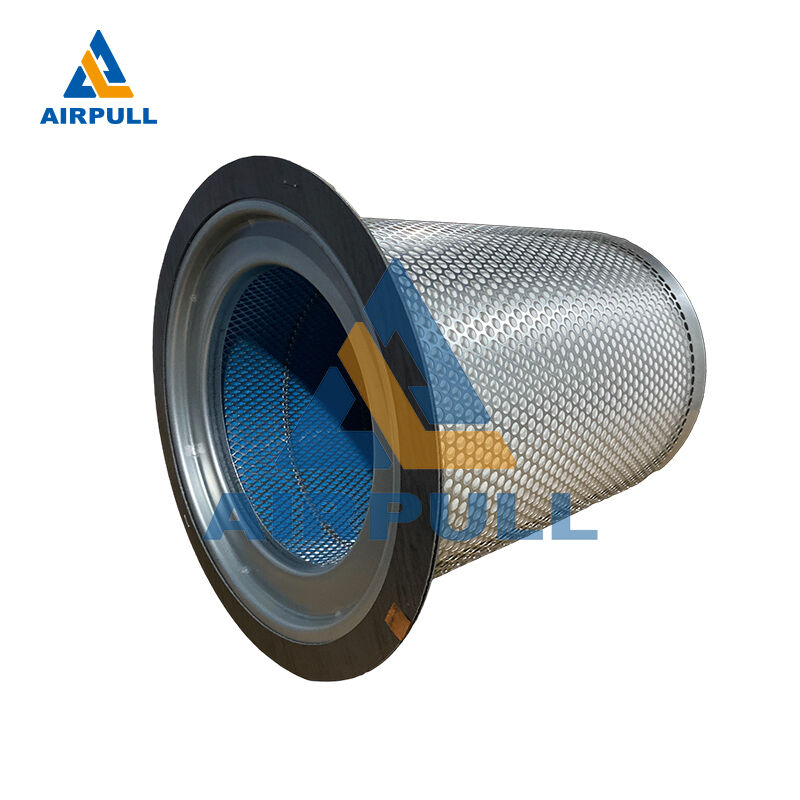
Keeping an air system efficient starts with knowing how to clean an air filter separator correctly, not just occasionally wiping external dust. In compressor-driven plants, the air filter separator protects downstream components by removing oil mist, fine particles, and contamination that can damage tools, lines, and finished products. When the air filter separator becomes saturated or blocked, pressure drop rises, energy use increases, and air quality begins to drift out of specification. A proper cleaning method restores stable flow, extends service life, and reduces unplanned shutdowns.
This guide explains the full workflow for cleaning an air filter separator in an industrial setting, from preparation and safe removal to cleaning validation and restart checks. The focus is practical: what to inspect, what to avoid, and how to decide whether cleaning is sufficient or replacement is the better action. Each step is designed for maintenance teams that need repeatable quality, predictable uptime, and controlled operating costs. By following a structured process, your air filter separator maintenance becomes consistent across shifts and facilities.
Prepare the system before touching the separator element
Isolate pressure, energy, and contamination sources
Before cleaning any air filter separator, isolate the compressor, lock out power, and confirm zero residual pressure in the separator housing. Opening a pressurized vessel creates immediate safety risk and can also deform the air filter separator media if pressure releases unevenly. Allow enough cool-down time so oil residue is less volatile and easier to handle. This first stage protects technicians and prevents accidental damage that would make the air filter separator unusable.
Drain collected oil and condensate from the relevant chamber before disassembly. A partially flooded housing can spill contamination back onto the clean side during removal, which undermines the purpose of cleaning the air filter separator. Use dedicated containers for waste fluid and keep seals and tools on a clean mat. Good preparation usually saves more time than rushing directly into disassembly.
Gather the right tools and cleaning materials
An effective air filter separator cleaning setup typically includes lint-free cloths, non-aggressive solvent approved for separator media, soft brushes, low-pressure dry air, and replacement gaskets. Harsh chemicals can break bonding agents inside an air filter separator, reducing capture efficiency even if the element looks clean from outside. Tool cleanliness matters as much as tool type, because introduced debris can embed into fibers. Keep old and cleaned parts physically separated to avoid cross-contamination.
Check the maintenance sheet and manufacturer guidance for solvent compatibility and maximum blow-off pressure. Many teams damage an air filter separator by using compressed air that is too strong, forcing particles deeper into the media rather than lifting them away. A controlled process with moderate pressure and short bursts is safer for structure and filtration performance. Documenting materials used in each cleaning cycle also improves traceability for audits.
Follow a controlled removal and inspection workflow
Remove the air filter separator without stressing the media
When you extract the air filter separator, support it evenly and avoid twisting that can crack end caps or weaken seams. If the element resists removal, do not pry against the media surface; instead, release retaining components fully and check for gasket adhesion. Mechanical stress is a hidden cause of early air filter separator failure after reinstallation. A careful lift-out keeps the structure intact for accurate inspection and possible reuse.
Place the removed air filter separator on a clean bench and immediately cap exposed ports in the housing. This simple action prevents ambient dust from entering lines while maintenance is underway. In high-particulate plants, even short exposure can contaminate the clean side and increase startup purge time later. Controlled handling is part of cleaning quality, not just a housekeeping detail.
Inspect condition to decide cleaning versus replacement
A visual check should cover pleat integrity, oil saturation level, discoloration pattern, and any signs of collapse in the air filter separator body. Uniform light soiling often responds to cleaning, while hardened sludge, torn media, or adhesive separation usually indicates replacement is necessary. If differential pressure was already high before shutdown, evaluate whether cleaning will realistically recover performance. Not every air filter separator is a good candidate for restoration.
Also inspect O-rings, seating surfaces, and housing interior for scoring or corrosion. Reinstalling a cleaned air filter separator into a damaged housing can create bypass paths that make filtration unreliable. Record findings with photos and notes so the next maintenance cycle can identify trends. Over time, this history helps optimize the cleaning interval for each compressor load profile.
Clean the separator element with methods that protect efficiency
Apply solvent and mechanical cleaning in the correct sequence
Start by removing loose external debris from the air filter separator using a soft brush or gentle vacuum approach. Apply approved solvent to contaminated zones and allow brief dwell time so oil films break down without oversoaking the media. Wipe with lint-free cloths in a consistent direction, avoiding aggressive scrubbing that frays fibers. A disciplined sequence cleans the air filter separator while preserving its internal separation pathways.
For stubborn deposits, repeat short solvent cycles rather than one heavy saturation step. Excess liquid can remain trapped in the air filter separator and later migrate into the air stream during restart. Keep cleaning focused on recoverable contamination, not cosmetic perfection. Functional airflow and stable differential pressure are the actual targets of a successful air filter separator cleaning process.
Use low-pressure air drying and post-clean validation
After solvent cleaning, dry the air filter separator with clean, low-pressure air directed from clean side to dirty side where applicable. This direction helps push residual particles away from critical filtration channels. Do not exceed recommended pressure limits, since overblowing can enlarge pores and reduce separation performance. Proper drying is essential before the air filter separator returns to service.
Confirm that no lint, pooling solvent, or detached fragments remain on the element. Many teams validate a cleaned air filter separator by checking weight change, visual uniformity, and expected flow resistance against baseline maintenance records. For heavily loaded operations, a short bench test before installation can reduce restart risk. Validation turns cleaning from guesswork into a repeatable quality step.
Reinstall, restart, and set a repeatable maintenance interval
Install with seal integrity and torque control
Before reinserting the air filter separator, clean the housing interior and replace sealing components if there is any compression set or cracking. Seat the element evenly so no side is pinched, then tighten retainers using the specified torque sequence. Uneven compression can cause leakage around the air filter separator and lower effective filtration despite a clean element. Installation quality determines whether cleaning gains are fully realized.
This is also the point where many teams review spare strategy and lead time for elements such as air filter separator replacements. Keeping suitable stock avoids delayed maintenance and emergency operation with degraded filtration. A cleaned unit can stabilize production, but planned replacement inventory protects long-term reliability. Balanced planning prevents both over-maintenance and risky extension.
Verify performance after restart and refine the schedule
During restart, monitor differential pressure, discharge quality indicators, and compressor load behavior to confirm the air filter separator is functioning as intended. A successful cleaning should show improved flow stability without abnormal carryover signs. If pressure drop remains elevated, the media may be permanently loaded and the air filter separator should be replaced. Early verification prevents prolonged operation in an inefficient state.
Use post-maintenance data to set interval logic based on runtime hours, contamination level, and duty cycle rather than fixed calendar dates alone. In variable-load plants, one air filter separator may require more frequent attention than another identical unit because process dust or oil conditions differ by line. Data-driven scheduling reduces costs while preserving air quality consistency. Over several cycles, your team can standardize a cleaning playbook that fits real operating conditions.
FAQ
How often should an air filter separator be cleaned in industrial operation?
Cleaning frequency depends on runtime intensity, inlet air contamination, and oil carryover conditions, but many facilities inspect the air filter separator monthly and clean it when differential pressure trends upward. A fixed interval without pressure and quality data can lead to unnecessary handling or delayed action. The strongest approach combines routine inspection with threshold-based triggers. This keeps air filter separator maintenance aligned with actual system stress.
Can every air filter separator be cleaned and reused safely?
Not every air filter separator is suitable for reuse after contamination. If media is torn, collapsed, chemically degraded, or heavily sludge-bound, cleaning may not restore safe performance. In those cases, replacement is the correct technical decision to protect downstream equipment and product quality. Cleaning is valuable, but only when the air filter separator structure remains intact.
What is the most common mistake when cleaning an air filter separator?
The most common mistake is using excessive compressed air pressure or aggressive solvent that damages the media. Another frequent issue is reinstalling a cleaned air filter separator with worn seals, which creates bypass leakage and undermines filtration. Teams also skip validation and assume appearance equals performance. A controlled method and post-clean checks prevent these avoidable failures.
How do I know whether cleaning improved air filter separator performance?
Compare pre- and post-maintenance differential pressure, monitor discharge cleanliness indicators, and observe compressor energy behavior under similar load. A properly cleaned air filter separator should reduce restriction and stabilize operation without new carryover symptoms. If metrics do not improve, the element likely reached end of life despite cleaning effort. Objective data is the best proof of air filter separator recovery.
